The first thing I noticed was that the nut was awful. Too high, and slots too narrow for the strings. The action was so high that playing the first fret was nearly impossible.
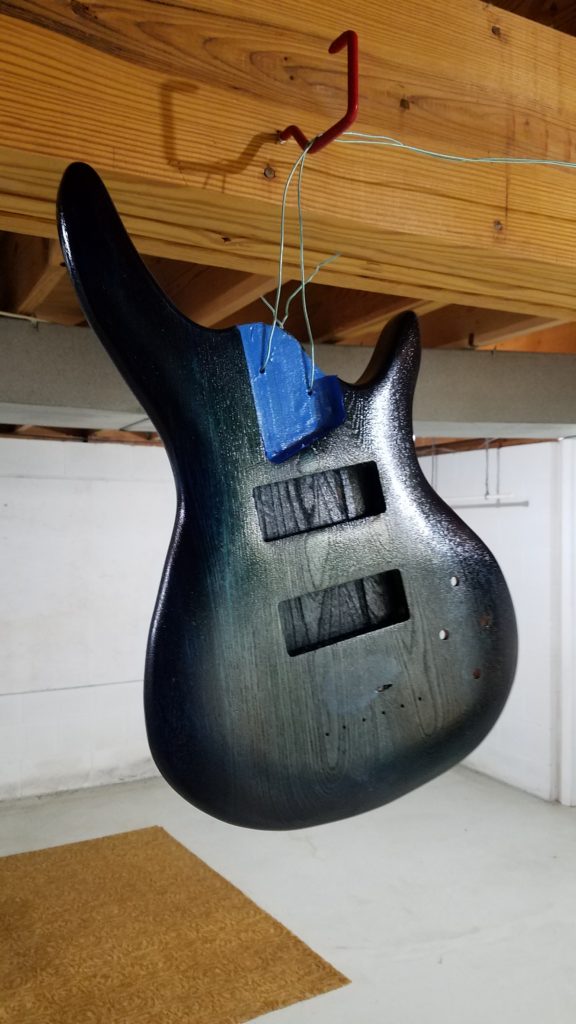
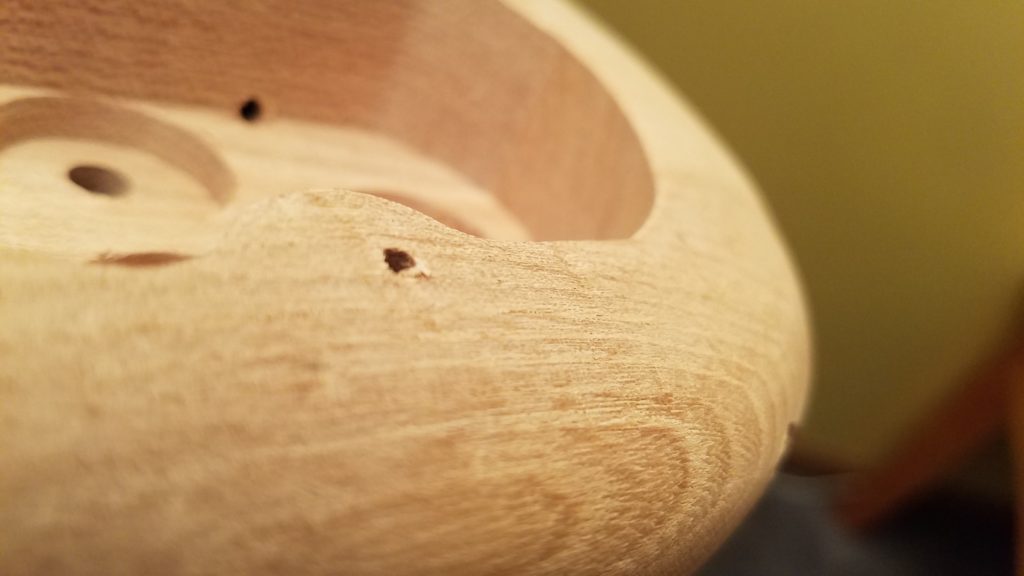
There were also a number of dings and scratches in the body.
To take care of the nut, I had to buy a set of nut files. I was too aggressive on the slot for the low-B, because it ended up too low in the nut and buzzed on the first fret. I found out that a drop of superglue allowed to dry and cure would act as “padding” to raise it up.
So I did that…and inadvertently glued my finger and thumb together with just a single drop. That ended up being several minutes in the bathroom with nail polish remover.
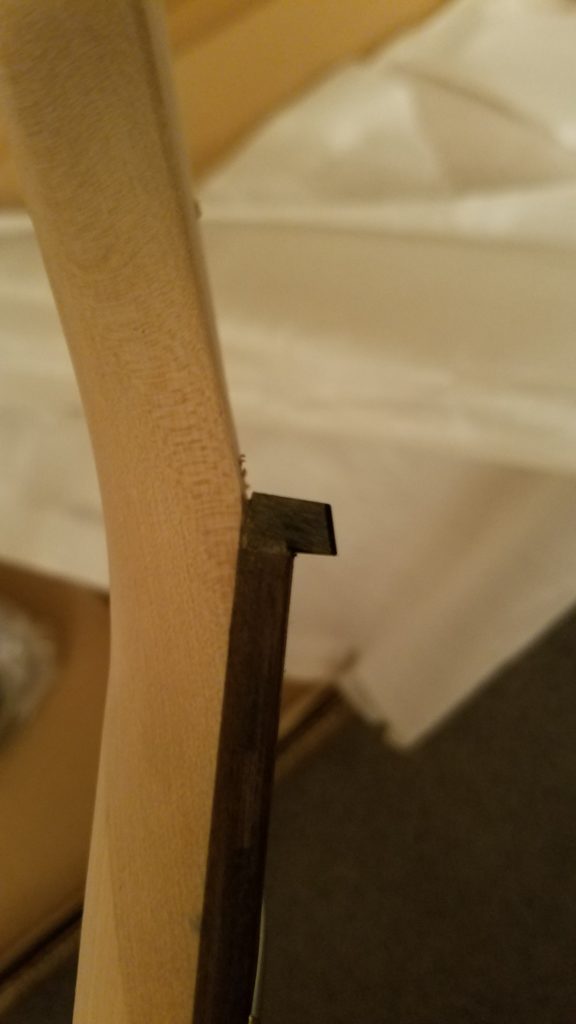
Another problem was the roughness of the frets’ ends. Running my hands up and down the edges of the fretboard, I was catching all the points and ragged ends of the frets. In 30-some-odd years of playing guitars and basses, I’ve never experienced this. I used an old jeweler’s file I had lying around to smooth out the ends of all the frets.
After the test assembly, I found that I need to level the frets, because after adjusting action and relief, I still had buzz on about the 13th or 14th fret on the D string. I was really irritated at the low quality of this kit by this point.
The Journey to the Workshop
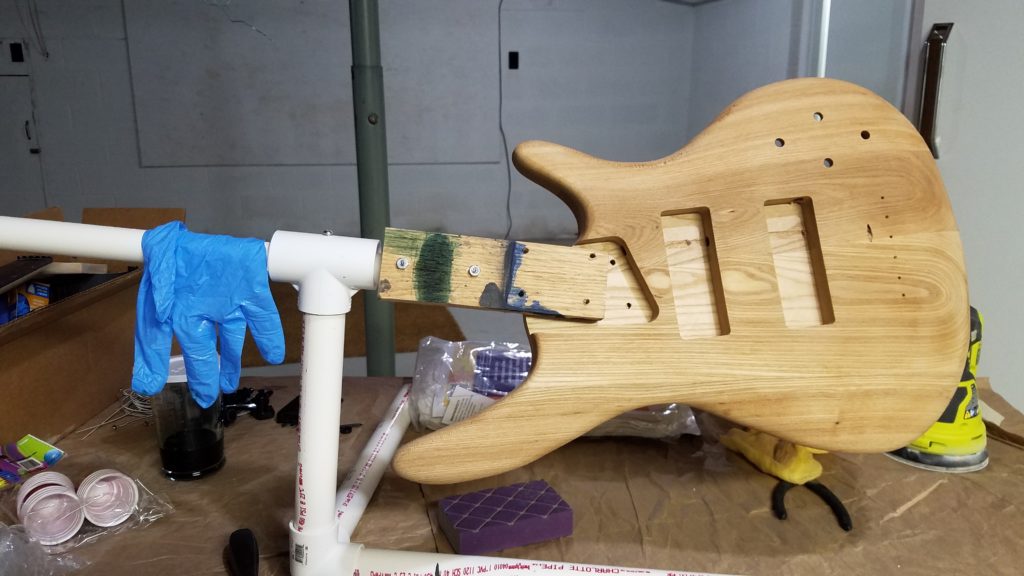
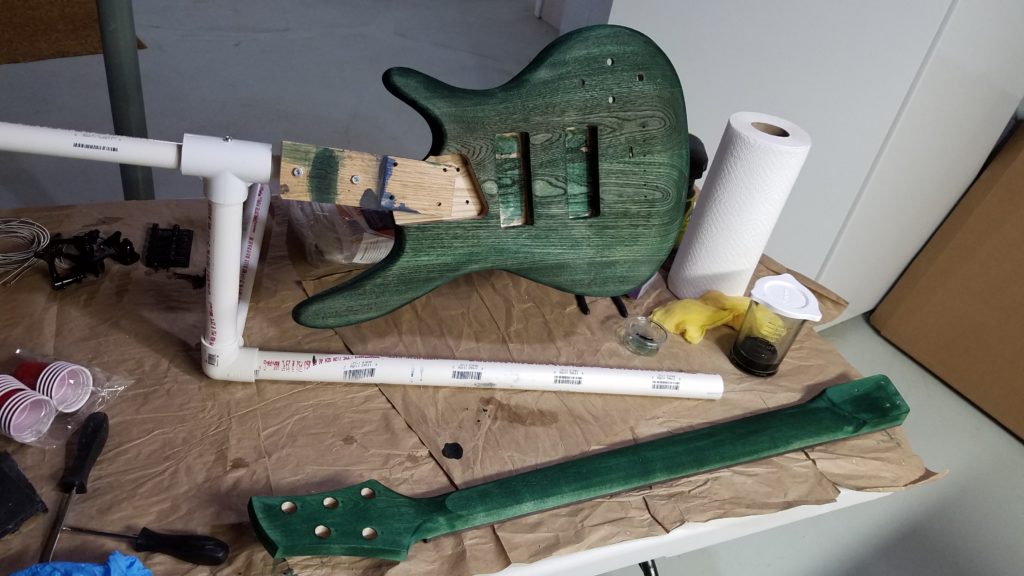
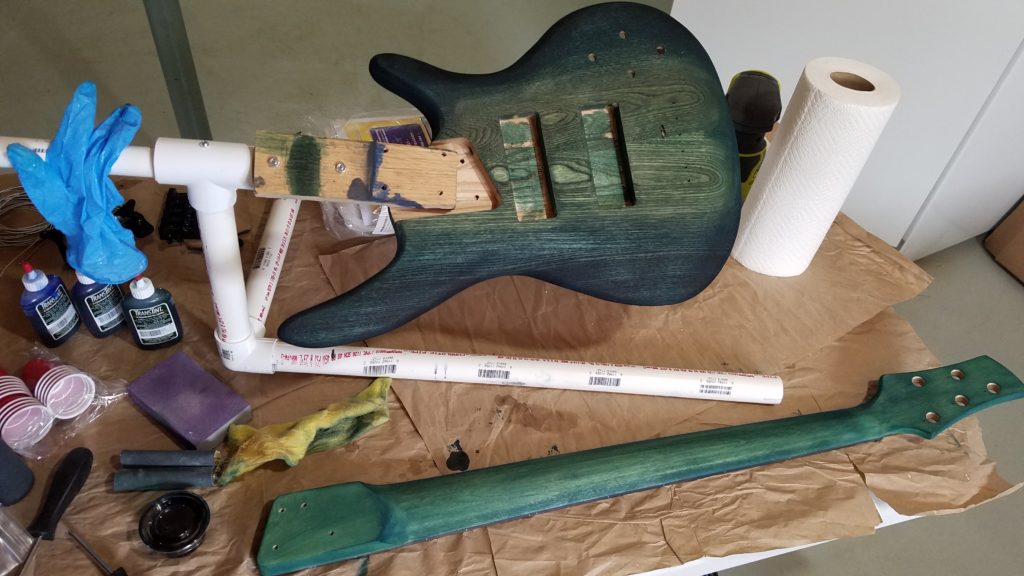
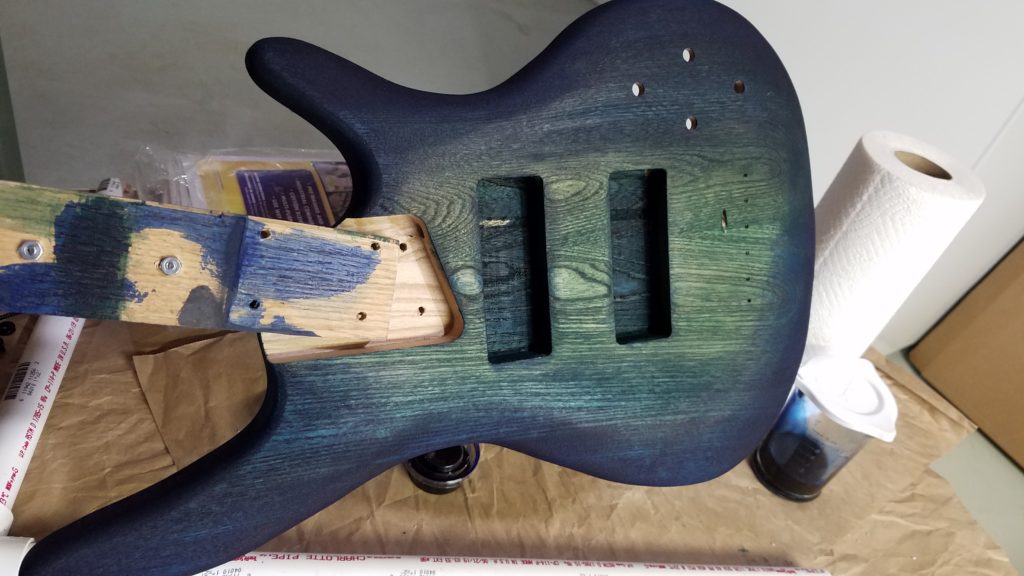
Last week, we were up north so I could start working on Ke Kai as well as finishing Blue-J. I sanded down the body of the bass to smooth out the dings and such, and also ran some major sanding on the neck. I attached the body to the rig and began prep and color.