Final Coats and Departure

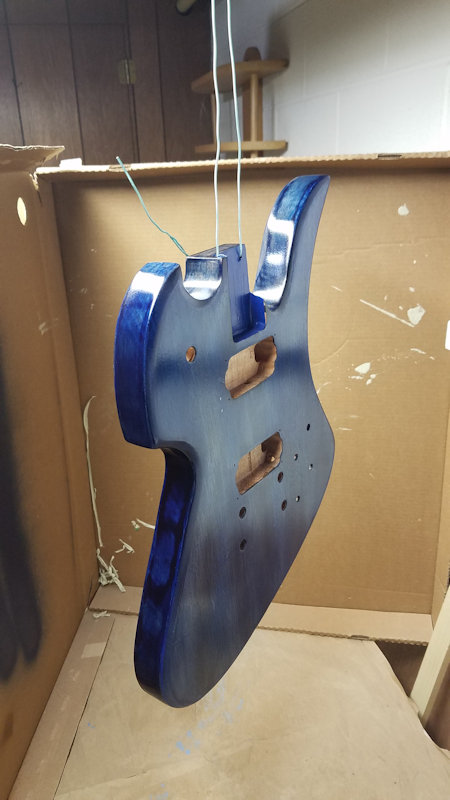
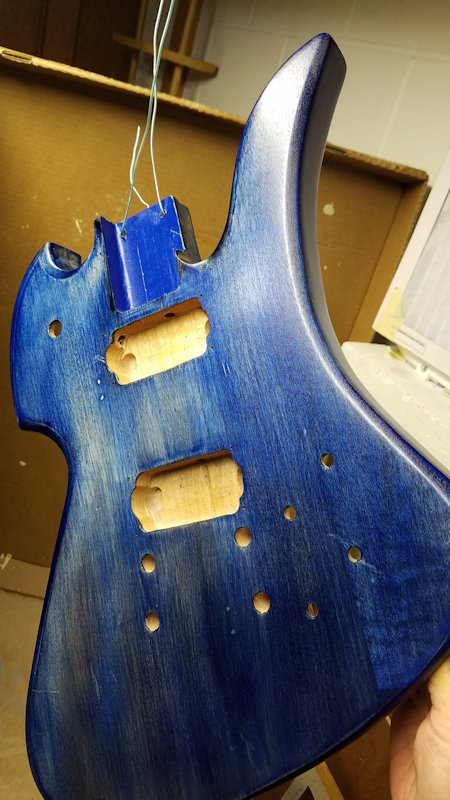
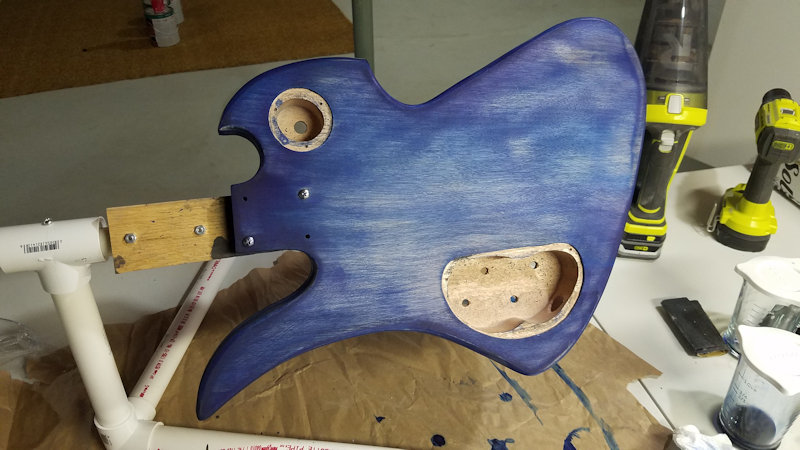
Today is the day of departure. We’re heading back home after over a week up north. I’ve decided to leave Blue-J up here to fully cure, since we’re not likely to be back until February. I decided to take advantage of the extra time by spraying more coats onto the body, and also stain the headstock after all.

I was nearly out of the Watco lacquer. The Duplicolor shipment had arrived on Friday, so I decided to give that a try on top of the Watco. After all, I had 4 coats of the Watco on already.
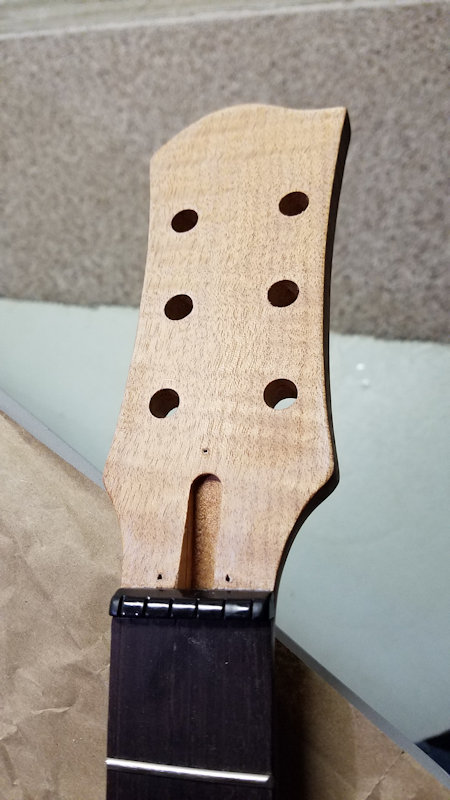
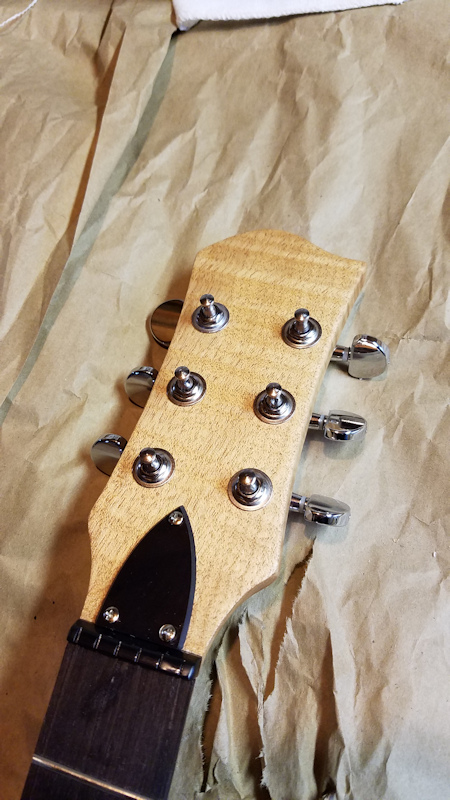
I removed the hardware and sanded down the face. I masked off the sides, nut, and most of the fretboard, and shoved paper towel into the truss rod cavity. I also backed the tuning peg holes with masking tape.

Stained with a higher concentration of the diluted blue tint, and sprayed clear in multiple coats along with the body and got this.
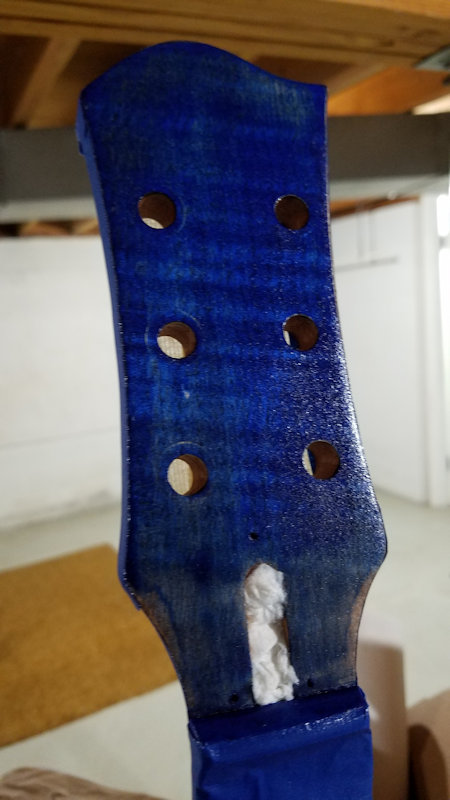
I can see where it was more difficult to sand down by the nut and at the top of the headstock because I didn’t get all of the shipping sealer off. But, another lesson learned.

I reassembled the basement, putting the window panes back into place and cleaned up my work area. I moved the guitar more toward the center of the basement and moved the table underneath it; I had this sudden fear of the suspension wire giving out and the body crashing to the floor, splitting in half.
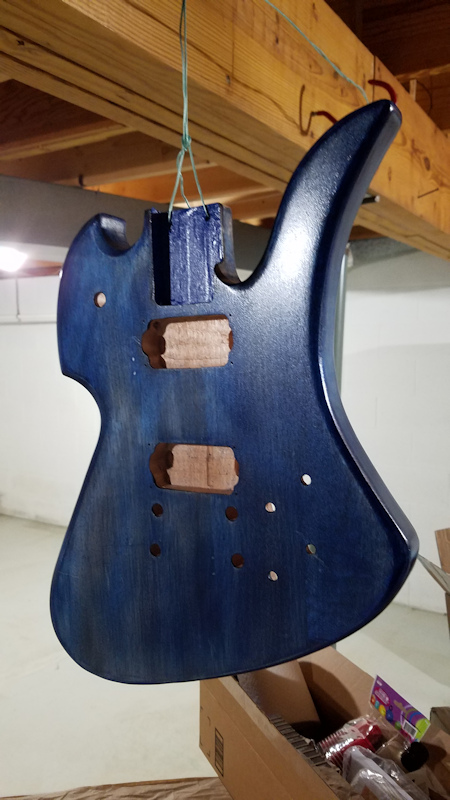
The Duplicolor sprayed a lot more finely so there’s more pebbling/orange-peel than the Watco. Duplicolor also smells a hell of a lot worse (not to say that the Watco was like smelling a pot of pasta sauce on the stove or that breathing the fumes is a good idea, but still…).

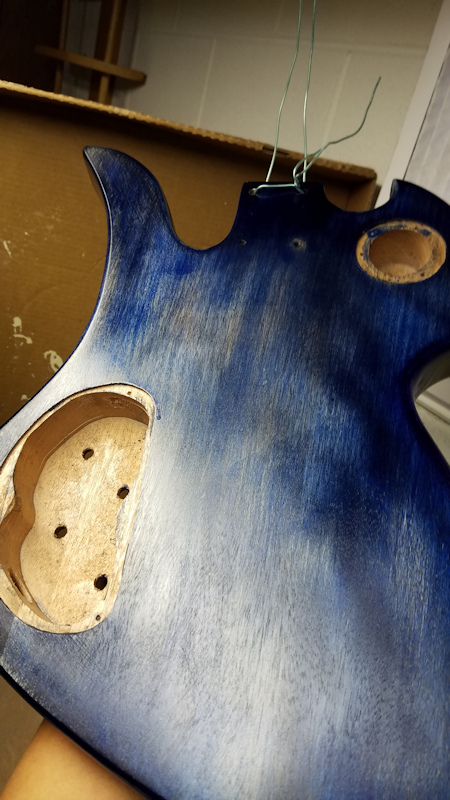
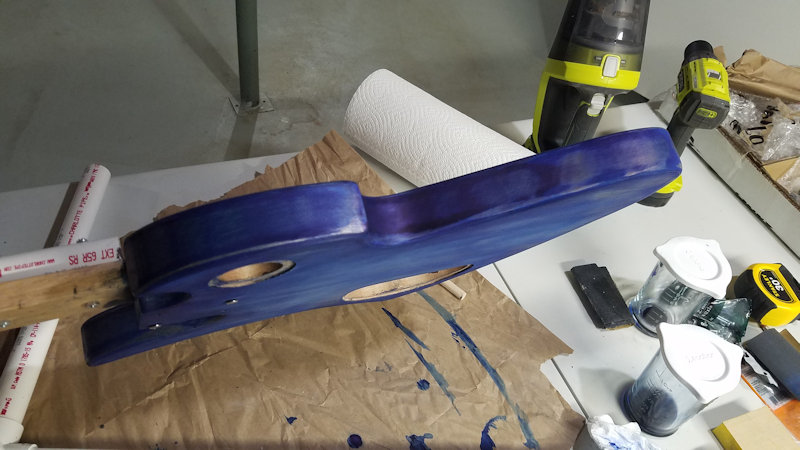
On the first coat, I was too heavy handed because I wasn’t expecting the velocity of spray compared to the volume. I ended up with two drip spots on the body that I didn’t notice until the first coat had dried for almost 2 hours. I gently sanded down with 400-grit, cleaned the areas, and sprayed the 2nd coat (again, 3 passes per coat, with intervening dry time).

I let the work dry overnight and inspected during workstation clean-up. The spot under the horn is barely noticeable, but the one on the back is still there though not nearly as bad as when I first noticed it.
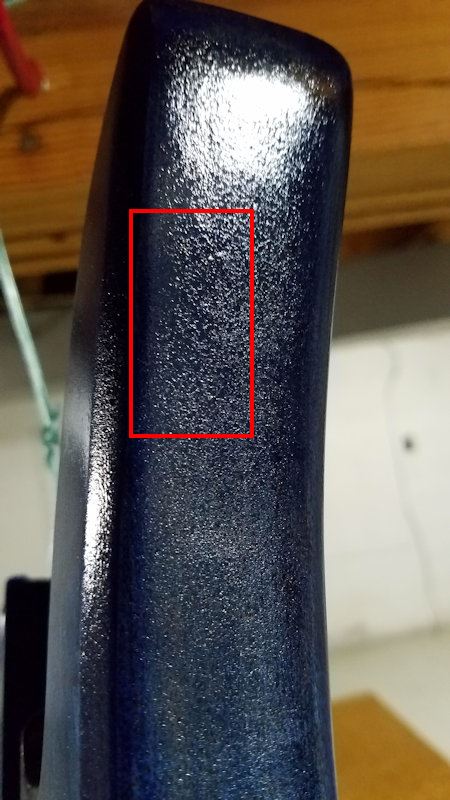
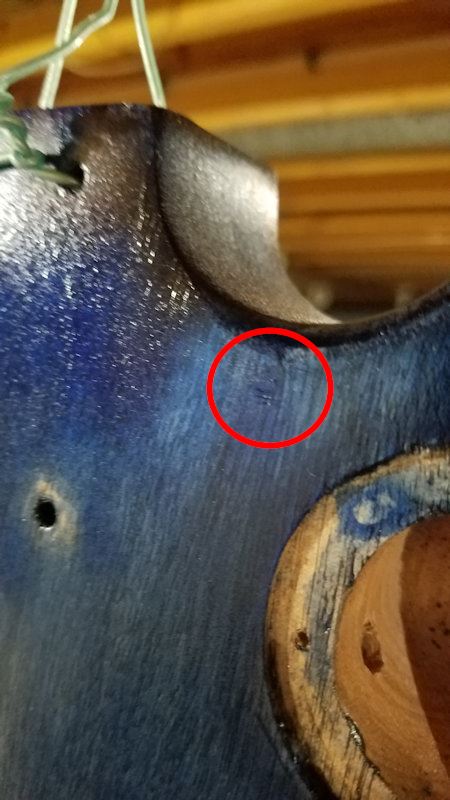
I hope to get a better idea of repairing this in February.
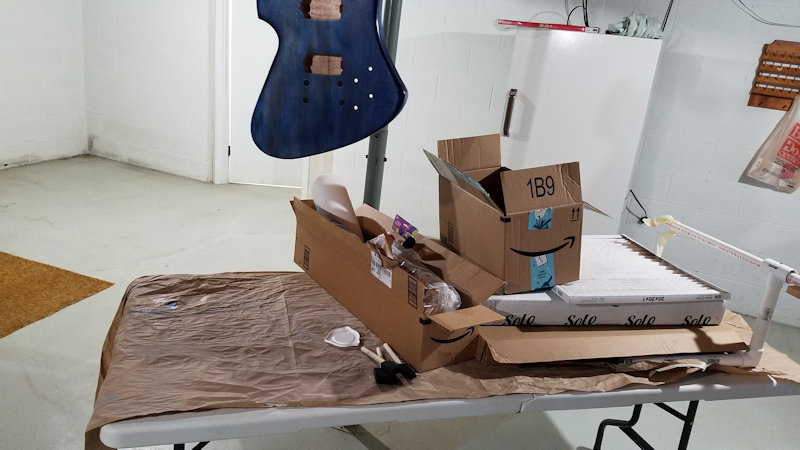
See you in 6 weeks!

Clear Coat


The stain is dry, time to clear coat. I had originally ordered 3 cans of Duplicolor clear coat via Amazon, as it was $2 cheaper per can than if I went to a local store. Unfortunately, I paid for that savings in delayed shipping. The Duplicolor wouldn’t arrive until Friday the 27th, leaving very, very little time to do anything at the house up north here.

So, taking a break from the kids, I drove 1/2 hour into the nearby major city to Home Depot. I perused the woodworking/finishing aisle, and after determining that I should’ve just bought everything I needed here, I picked up a can of Watco gloss acrylic lacquer.

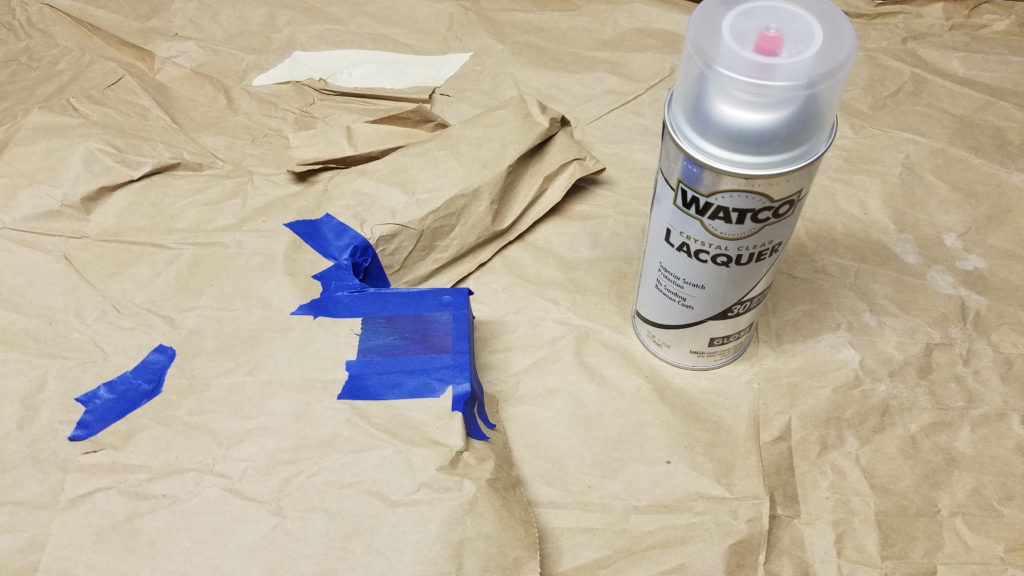
I taped off a spot that would be behind the neck plate to test out how the clear coat would work.

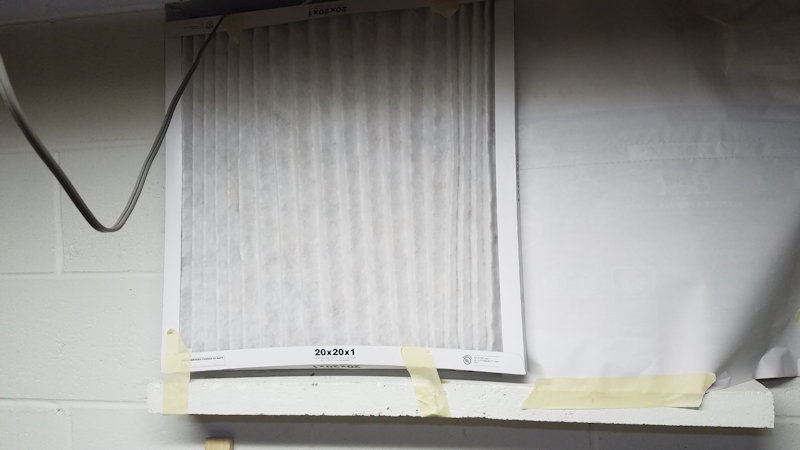
I also set up a box fan blowing out of the basement window with a matching furnace filter attached to the back. This will be my spray booth.

The test spray worked out nicely. The square was very glossy, and dried very quickly.

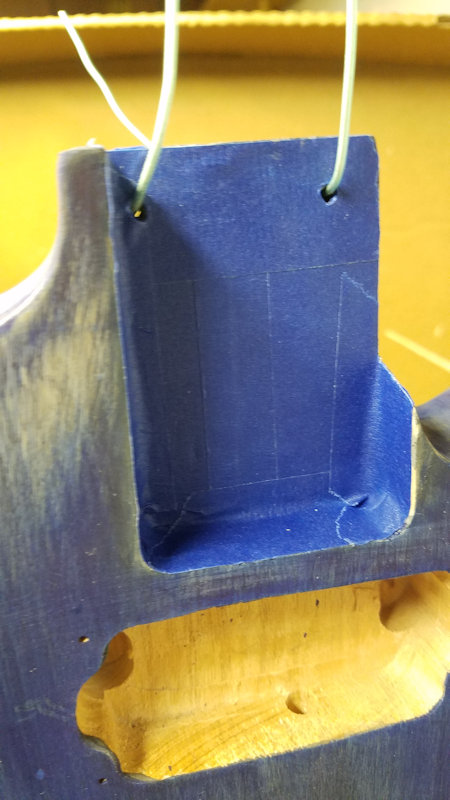
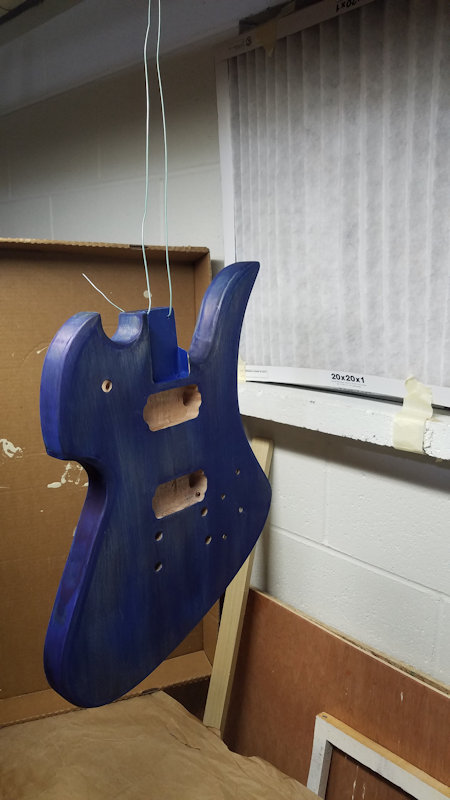
I taped up the neck pocket to prevent lacquer build-up, then drilled a screw into the joist above me, suspended a long strand of coated wire, then fed and tied it through the neck screw holes.

Then I began spraying.

  • Three very, very light passes all around, with dry time in between passes.
  • I removed the filter to get more air flow going and let this coat dry for two hours.
  • Reattached the filter, then three more light passes along with dry time for each pass.
  • Remove the filter, allow to dry (90 minutes this time).
  • Another three passes
  • Dry time.

So far, this is the result after the second coat.

After these photos, I added the third coat. I’m planning on at least one or two more coats for the rest of the night. Then she rests overnight.

Where I feel like I lost out on time because of the delay in shipping of the Duplicolor and before I found the Watco is that I won’t be able to assemble while we’re at the up-north house. We’re heading back home on Sunday (in two days as of this writing). I’m torn between leaving the guitar here to continue drying and curing until we come back or packing it all up and taking it home to continue work down there.

I could bring it all home and let the finish continue off-gassing in the garage. And when ready, begin the electronics. But I don’t have a decent enough workspace at the main house (without doing some major basement/lower level reorg, which was in the works since I don’t go back to work until Thursday the 2nd).

This is probably my impatience talking.


Blue Stain


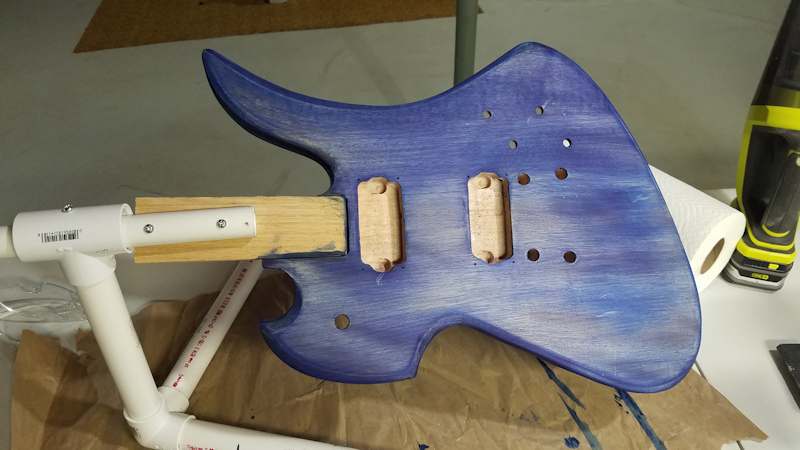
The last few days were spent on staining with blue. It took multiple coats using a diluted solution of the Transtint and water. I measured it out into a glass measuring cup with a sealable lid so I could keep the concentration consistent over several days while I worked. The end result wasn’t what I’d pictured in my mind at the start of the project, but did result in some happy accidents.


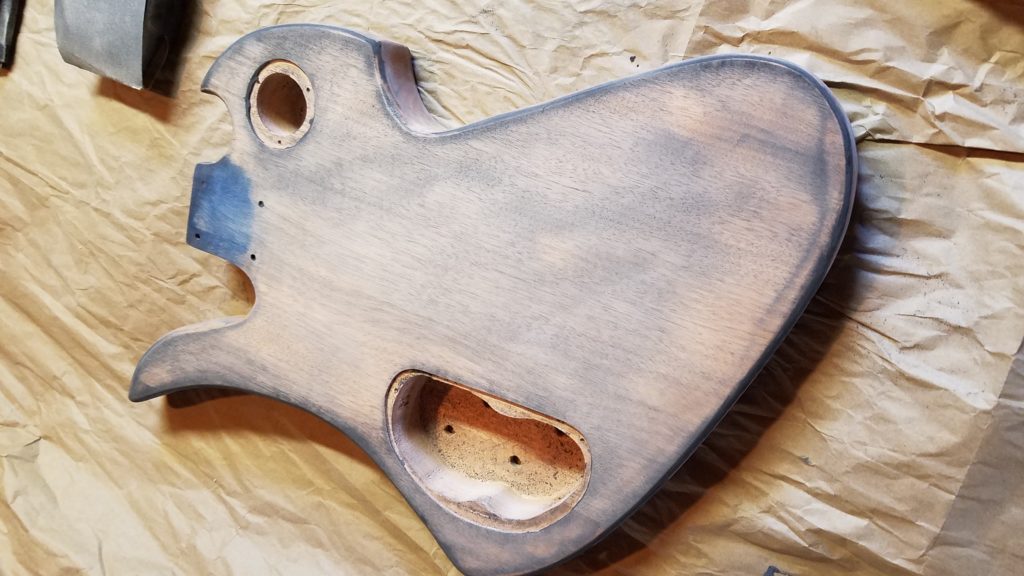
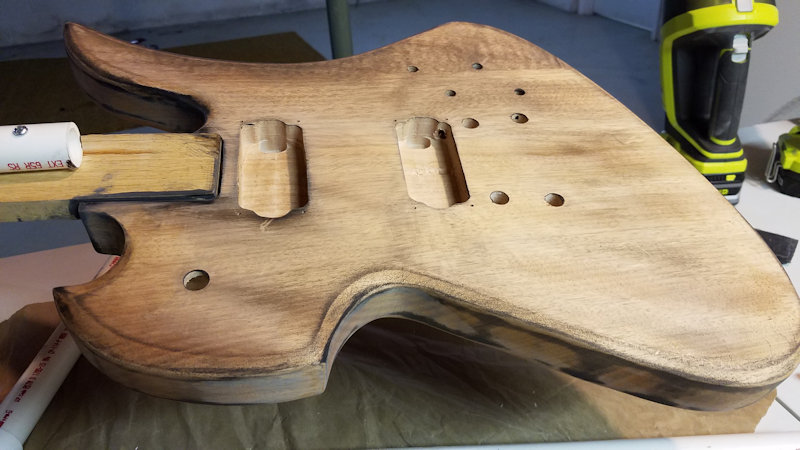
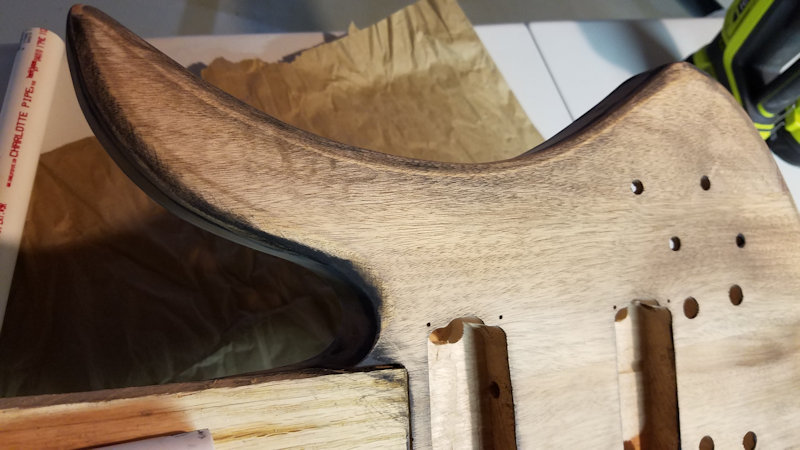
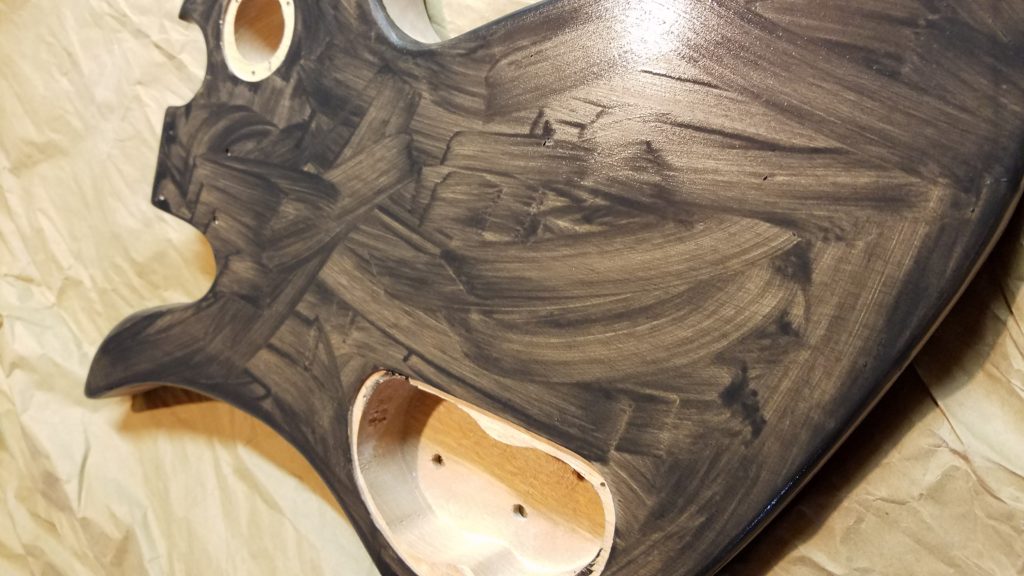
I started wiping off the dried filler and stumbled into an unexpected “happy accident.” With the way I was removing the dried filler, I found I could control how much I took off and where. The uneven pattern was adding a bit of character and depth that I hadn’t anticipated:

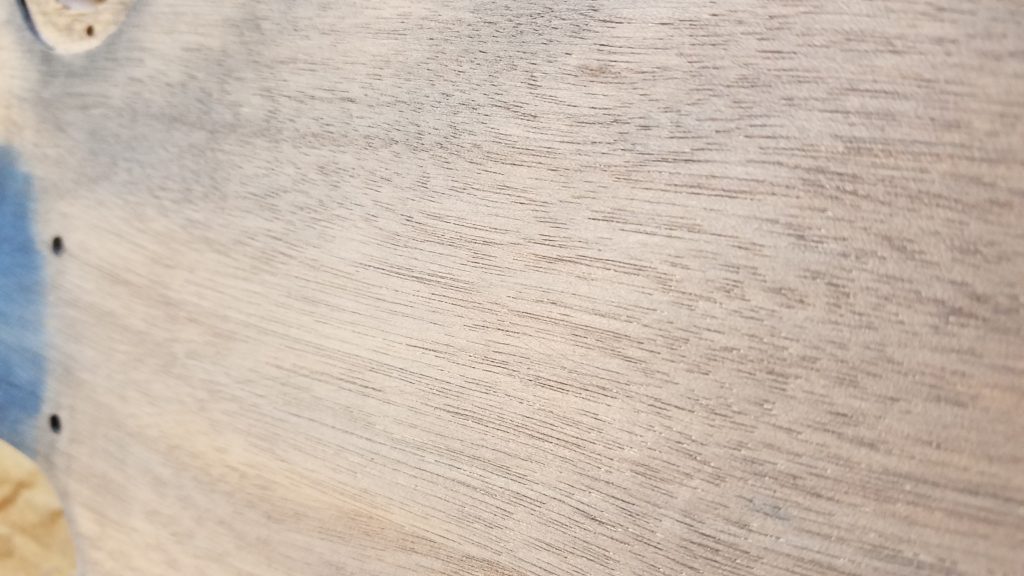
But I was able to see a better effect of the filler in the grain:

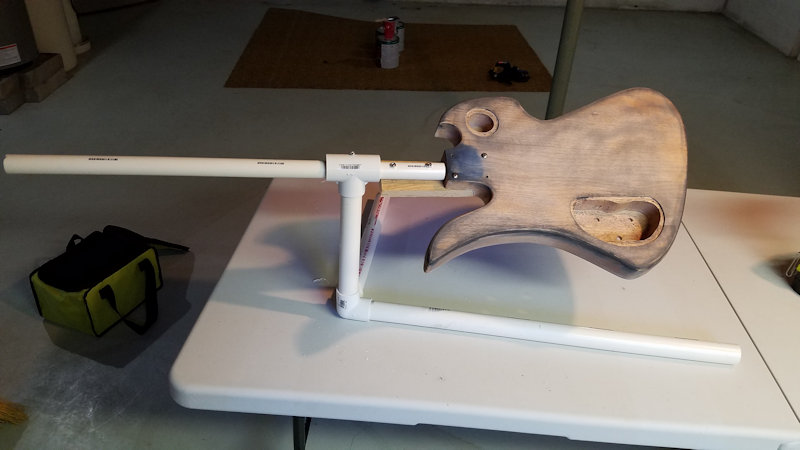
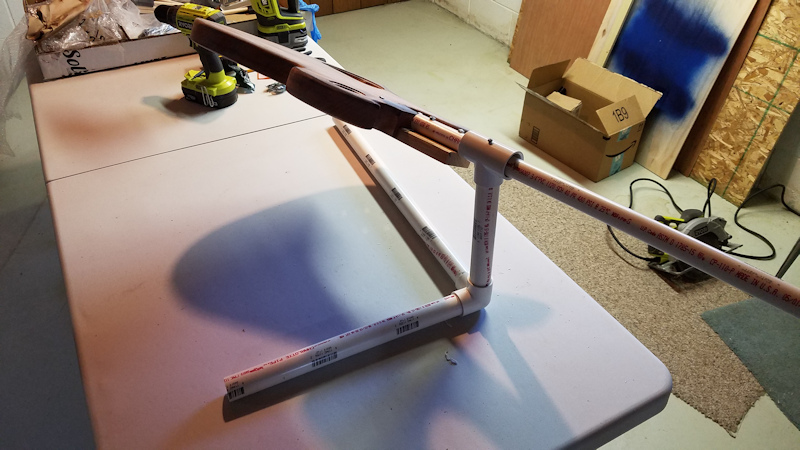
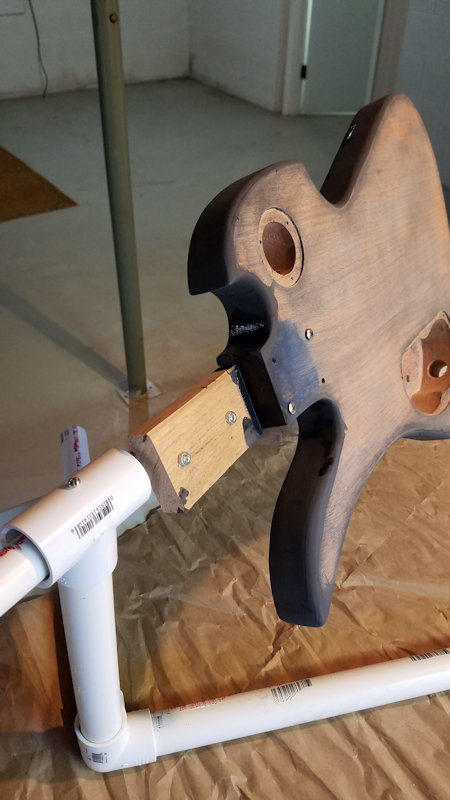
Later in the day, I assembled the finishing rig. The parts consist of:

  • 1″ straight PVC pipe
  • 3/4″ straight PVC pipe
  • 1″ 3-way elbow
  • 1″ tee
  • 1/2″ machine screw

In this case, I bought two 24″ pieces of the 1″ pipe and one 24″ piece of the 3/4 because it’s just easier to transport to the house rather than buying the super-long bulk stock. I cut 9″ off of one of the 24″ pieces to be the vertical, leaving the other to take the bulk of the body’s weight once I got the whole rig together (thank you, high school math and science).

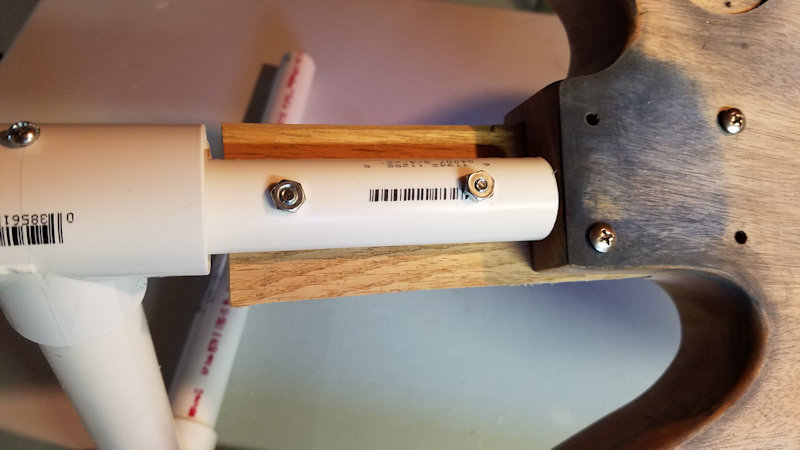
I used a 1/2″ machine screw as a set screw in the T-piece to hold the 3/4″ pipe in place once I bolted it to a scrap piece of wood to attach the body.

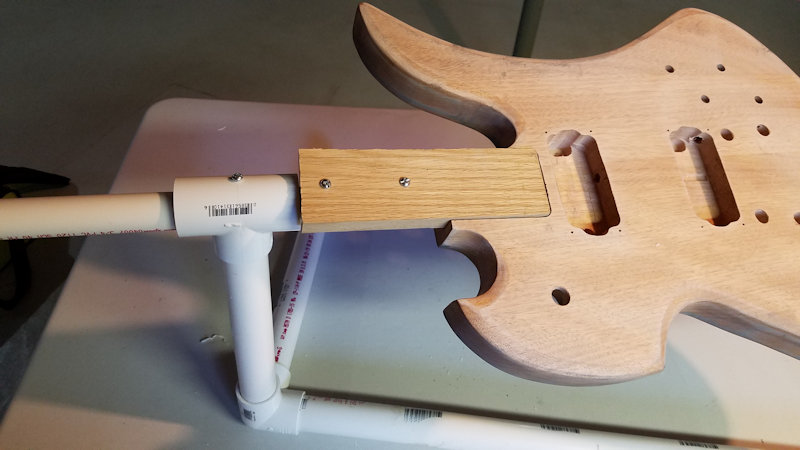
When I began coating the sides and front with grain filler, I discovered a problem. To account for centrifugal force, I bolted the body to center with the 3/4″ horizontal pipe. Unfortunately, to minimize the center-of-gravity problem with the weight of the guitar and the lack of a counterweight, the 3/4″ pipe is bolted right up against the heel of the neck joint of the body, which meant I couldn’t get the filler into that spot.

But since it was just screwed into place, I could readjust and reposition the wood piece to the other side so I could get to the heel.

The weight distribution makes it more awkward to rotate now, but I could at least get to the heel.

After letting the grain filler dry for a few hours on the front and sides, I wiped it off using some deliberate carelessness to feather the edges.

And thus ends Sunday’s work. Letting the moisture dry off for the night before I begin staining tomorrow.


Now that I’m at our vacation home, I set up the workstation in the basement and did some test coloring and more examination. I decided that the neck should remain as-is, because it seems like there’s a more durable coat of sealant on it. I tried sanding off the top coat on the back of the joint where it would connect to the body, but it was taking more effort than I expected.

In various angles of light, I could see the shimmer of the mahogany, so it felt like it’d be a bit of a shame to lose that contrast with the future blue body.

I assembled the tuning machines just for a sense of some accomplishment:

I sanded down the body with 220 grit sandpaper to prep it for the Goodfilla ebony grain filler.

Then I realized my first mistake. I didn’t sand enough, because when I wiped off the dried grain filler with a damp shop rag, I was taking off all of it. I ended up right where I started again. So I went down to a 120 grit to take the sealer off and then I could tell that I was making a difference with a touch test. I applied the grain filler, thinned with a little bit of water to make it more paste-like than chunky-solid.

It was late when I finished laying it in on the back of the body, so I decided to let it dry and sit overnight until I could tackle it in the morning again.


The Blue-J Project – Intro


A log for a custom guitar build

For decades, I’d been fascinated by the BC Rich Mockingbird guitar. US audiences may associate this with Slash. For me, however, the style was favored by one of my favorite guitar players, the late Hide (‘HEE-deh‘) of X-Japan:

When I was in Japan in the late ’90s, I wandered into a music shop and saw a replica of Hide’s yellow Mock with the hearts. Despite knowing that it was a consumer-grade copy, I wanted to try it out, to get the feel and balance of the unique shape. It stuck with me since then.

I’m certainly not of Hide’s caliber in guitar playing, and my aesthetic style is nowhere in his stratosphere, so I wanted to build a Mock more to my own style. Typically, I lean toward red guitars, but a sudden flash of inspiration and some trial mock-ups later, I settled on a deep blue, as shown in the lead-in image.

The project is named Blue-J (since my legal first name starts with “J”), but I haven’t decided whether that’s the name of the guitar or not.

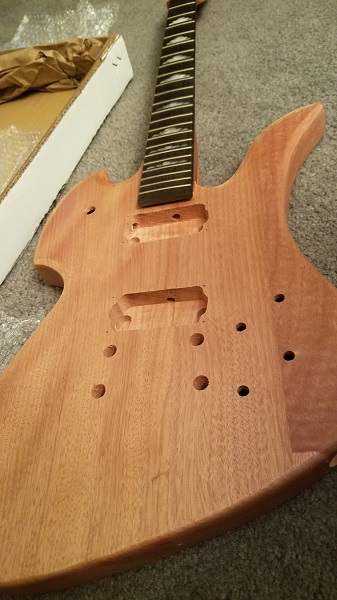
I ordered the MBK-1 kit from Solo Guitars (no affiliation links, as I’m not going to blog nearly enough to drive traffic to the company to earn a cent), and five days later, the box was home. Did a test fit of the neck and body and to examine the mahogany:

Upon examination of the grain, I decided that a solid color and sunburst fade would be a disservice to the natural qualities of the wood. So it’s going to be stained instead.

Supplies I bought to accomplish this include:

  • TransTint wood stain/dye – blue
  • Goodfilla ebony grain filler
  • A bunch of PVC to build the finishing rig
  • Collection of sandpaper ranging from 120 – 3000 grit
  • More shop rags than I ever thought I’d ever need

To make the finishing job easier, I bought supplies at Home Depot to make a finishing rig of PVC and a piece of project lumber. While I have scrap wood available, they’re in 8′ deck plank sizes, so cutting them down would’ve just been extra work for the $4-5 cost of the finished project board that I have to cut anyway.

I also want to replace the stock tone/volume knobs that came with this kit, but will make that decision after the finish is complete to make sure that the vision in my head actually matches reality.

Because the mahogany is an open-pore wood, I need grain filler to keep the wood from getting all funky once I lay down color substance. After several days of poring over various Internet forums, blogs, and vendor sites, I decided I wanted a dark-to-black grain filler to help accentuate the grain against the blue stain. This was where I settled on the Goodfilla ebony.

Several YouTube videos on refinishing guitars later, I was as ready as I was going to be.