It’s always the ground, isn’t it?

I don’t remember when I discovered the problem with Ke Kai, but it was another grounding issue. It was the stereo barrel jack. The lack of instructions provided by the seller meant I had to research the wiring on my own, and it’s been rather lacking out there in Internet land.

Turns out that I had to jumper the unused lug to complete the circuit to ground. I used a small piece of spare wire, and that eliminated the hum.
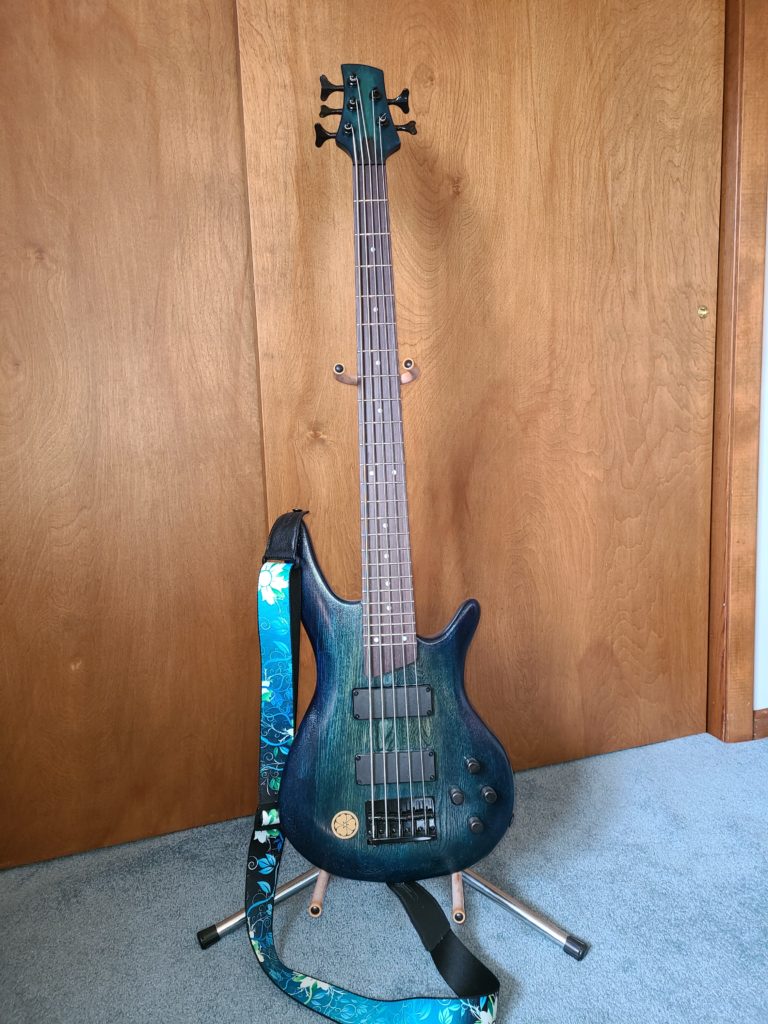
And that was apparently also the issue with Cabernet. After we got up to the up-north house, I looked at all of my wiring under the pickguard. Everything was nice and secure.

On the flip-side, however, in the spring cavity, that might have been the culprit. The ground wire was loose from the spring claw. Solder doesn’t stick well to shiny chrome.

Using my Leatherman, I scuffed the metal and resoldered the wire, making sure it was nice and secure. At first test on my travel amp, I couldn’t hear any buzz. The real test will be back at home on the bigger amp.

First Pics…No, Not Quite

Was almost about to be able to post photos of the newly completed Ke Kai….until the audio test failed. Could barely hear faint notes, but they were so faint that my tuner couldn’t pick up the signal. I propped up the bass near the rest of the arsenal, started cleaning up my tools….and noticed a wire sitting on the desk that I’d set aside.

Yup, forgot a connection. Hoping that’s it, because I really don’t want to try to de-solder and reconnect everything again.

Tomorrow.

Prep, Coloring, and Coating

The first thing I noticed was that the nut was awful. Too high, and slots too narrow for the strings. The action was so high that playing the first fret was nearly impossible.

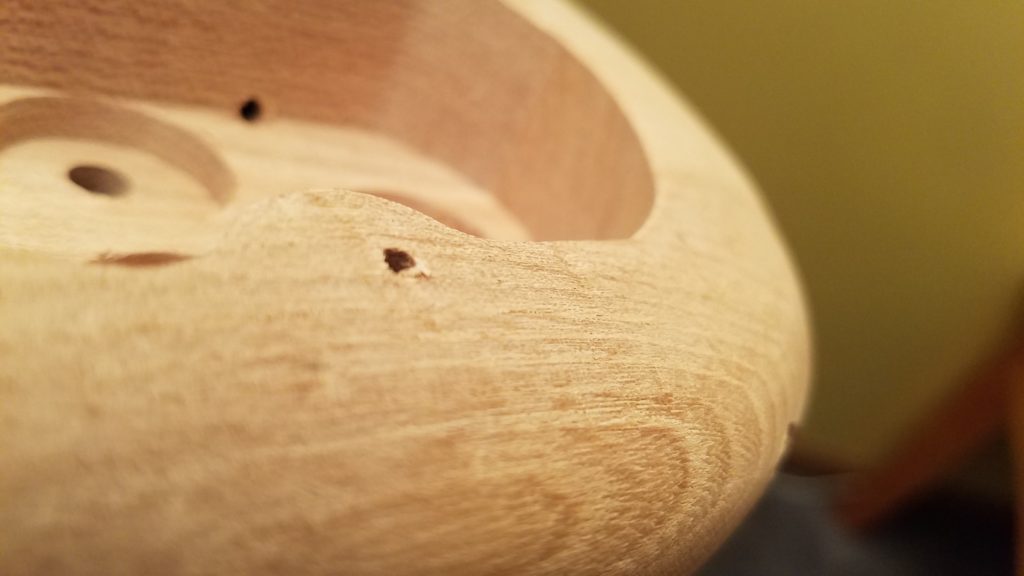
There were also a number of dings and scratches in the body.

Kinda’ tough to see, which is probably a good thing since that means they can be sanded out

To take care of the nut, I had to buy a set of nut files. I was too aggressive on the slot for the low-B, because it ended up too low in the nut and buzzed on the first fret. I found out that a drop of superglue allowed to dry and cure would act as “padding” to raise it up.

So I did that…and inadvertently glued my finger and thumb together with just a single drop. That ended up being several minutes in the bathroom with nail polish remover.

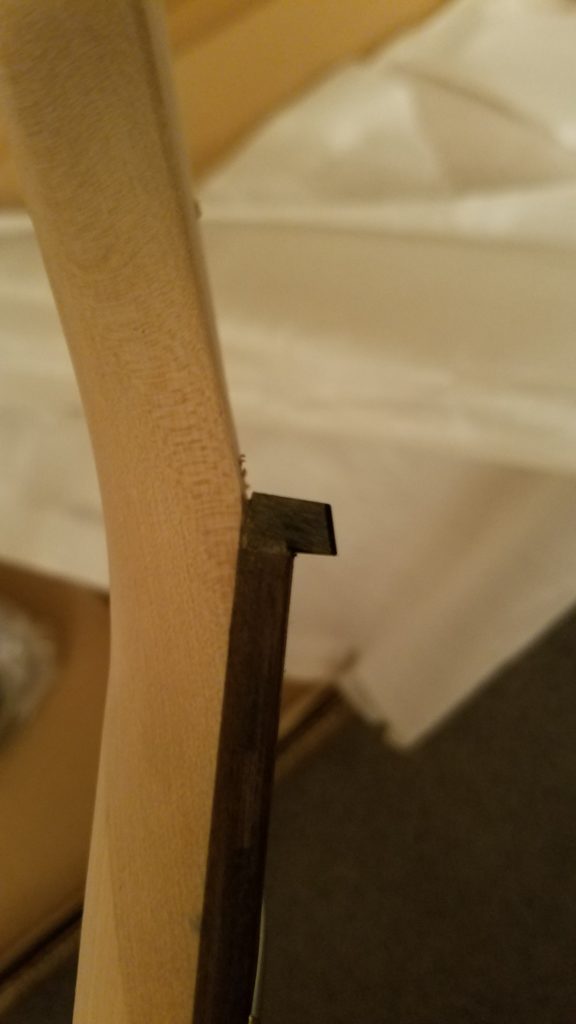
Another problem was the roughness of the frets’ ends. Running my hands up and down the edges of the fretboard, I was catching all the points and ragged ends of the frets. In 30-some-odd years of playing guitars and basses, I’ve never experienced this. I used an old jeweler’s file I had lying around to smooth out the ends of all the frets.

After the test assembly, I found that I need to level the frets, because after adjusting action and relief, I still had buzz on about the 13th or 14th fret on the D string. I was really irritated at the low quality of this kit by this point.

The Journey to the Workshop

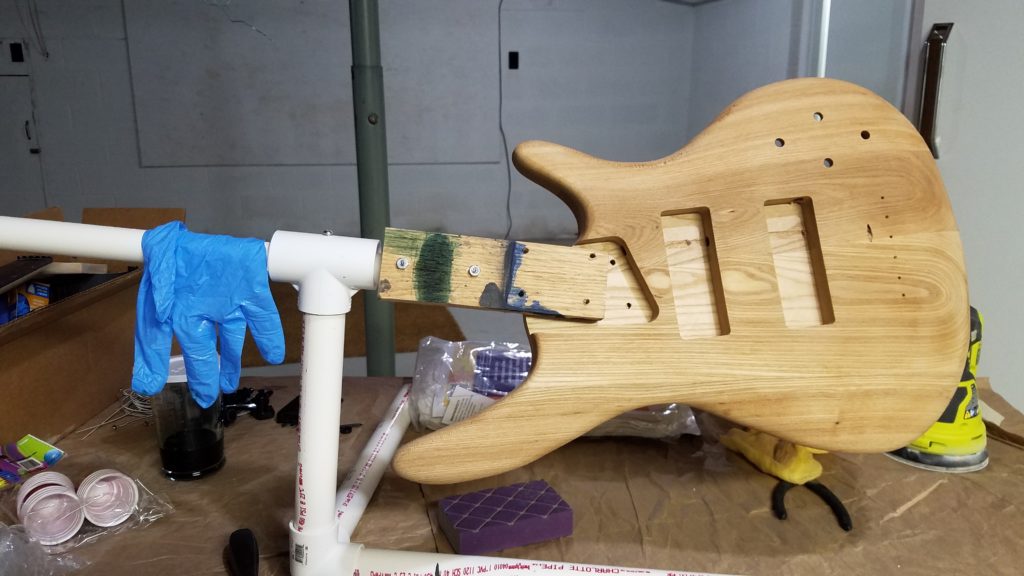
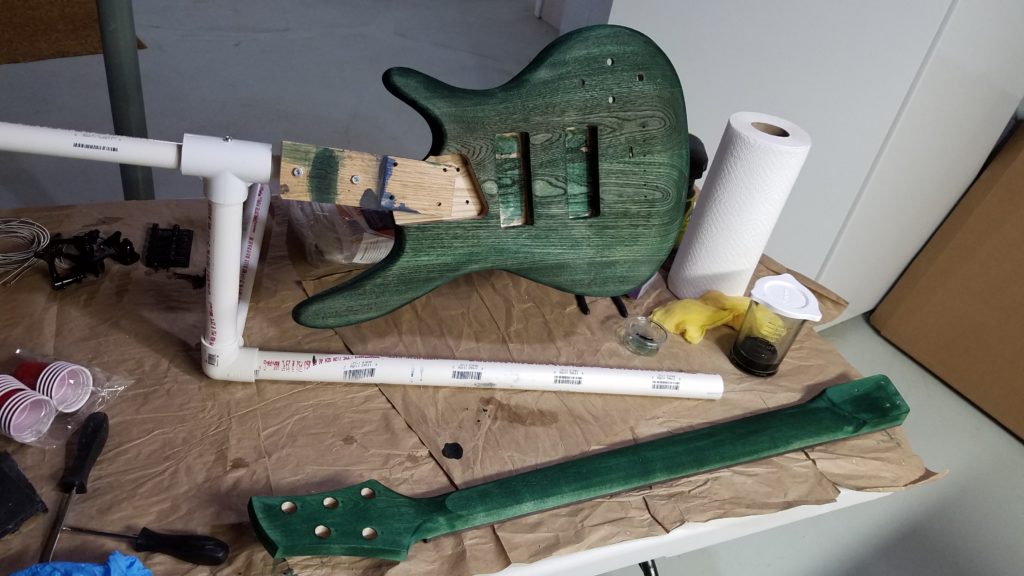
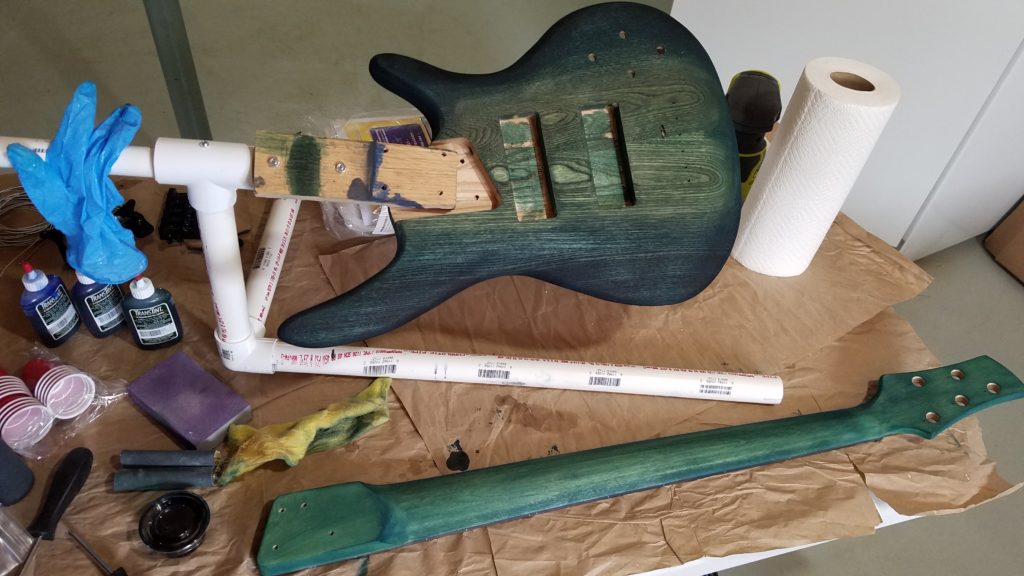
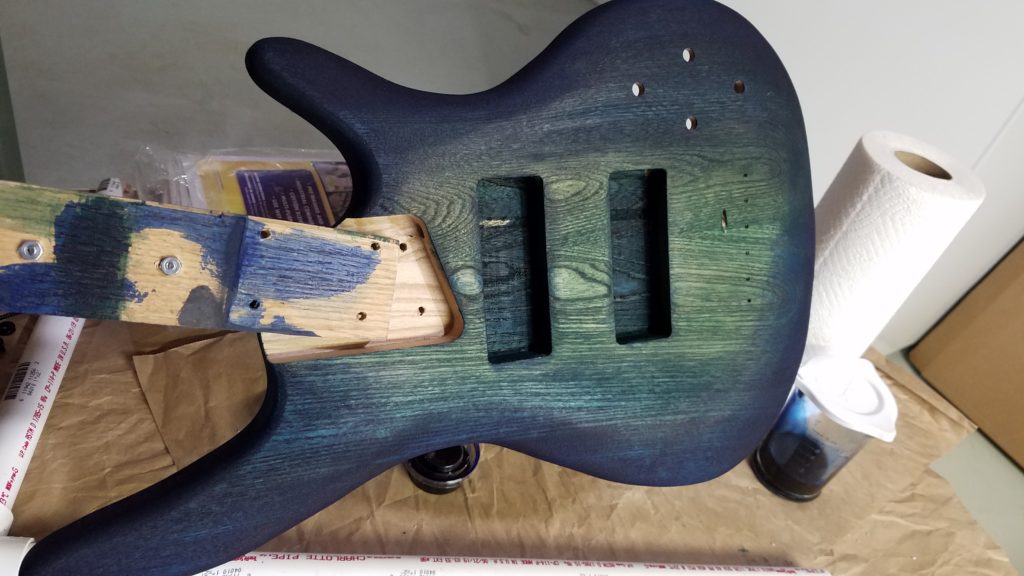
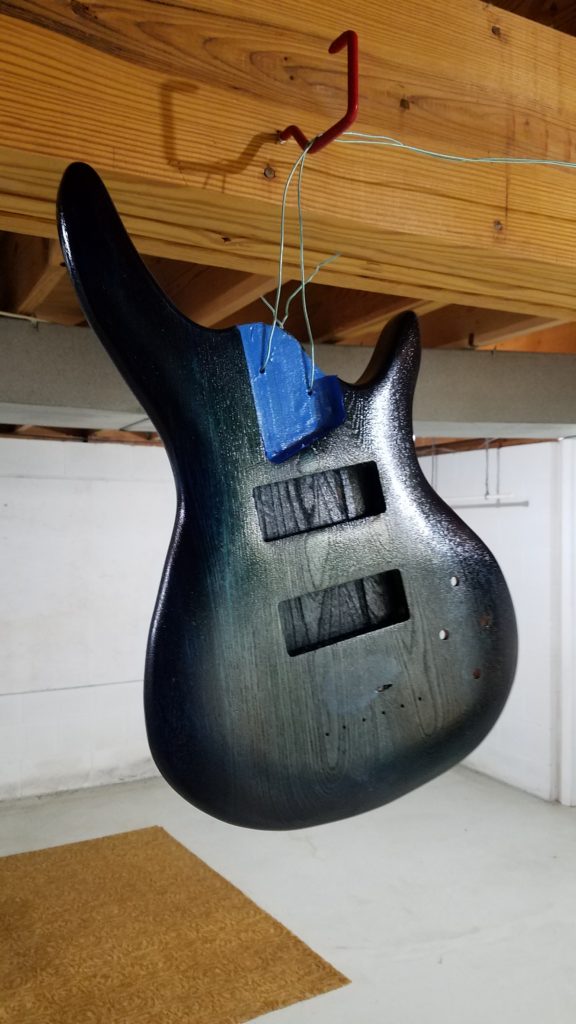
Last week, we were up north so I could start working on Ke Kai as well as finishing Blue-J. I sanded down the body of the bass to smooth out the dings and such, and also ran some major sanding on the neck. I attached the body to the rig and began prep and color.

Ke Kai – Intro

Hawaiian for “To the Sea.”

After going back and forth with indecision over whether I want a 4-string or 5-string bass, I decided on another 5-string. I also had new ideas for color and finish, so the Ke Kai project will be a bit more advanced practice for this absolute beginner in guitar finishing.

Before I ordered the kit, I ordered a plank of ash and staining supplies to practice the ideas in my head. A friend suggested using prestain conditioner to more evenly distribute the color.

Throughout the practice phase, I had to work through a lot of impatience as well as my current skill level not quite up to the task of what’s in my head, so I’ve compromised and in that effort, I think I’ve come upon a design idea that could be both achievable and unique.

The kit is a 5-string ash-body bass from TheFretwire. After receiving the kit and examining the parts, I’ve determined that it’s of lower quality than the kit I received from Solo. But part of DIY kit building is to make-do with the included hardware until/unless one saves up the money to upgrade over time.

Work will begin later in February when we’re back at the house up north.