Clear Coat


The stain is dry, time to clear coat. I had originally ordered 3 cans of Duplicolor clear coat via Amazon, as it was $2 cheaper per can than if I went to a local store. Unfortunately, I paid for that savings in delayed shipping. The Duplicolor wouldn’t arrive until Friday the 27th, leaving very, very little time to do anything at the house up north here.

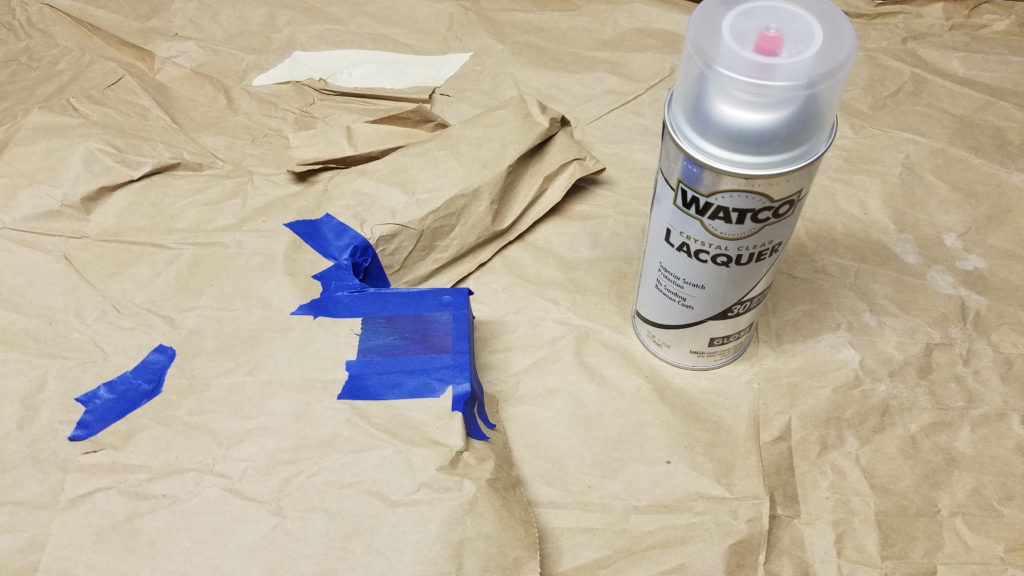
So, taking a break from the kids, I drove 1/2 hour into the nearby major city to Home Depot. I perused the woodworking/finishing aisle, and after determining that I should’ve just bought everything I needed here, I picked up a can of Watco gloss acrylic lacquer.

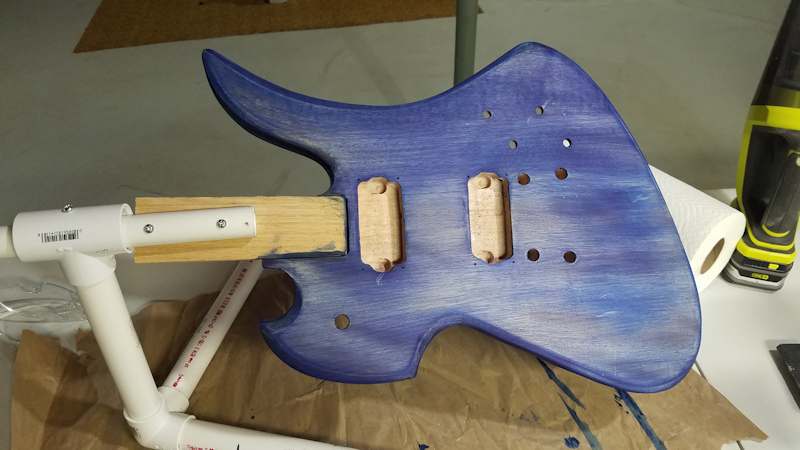
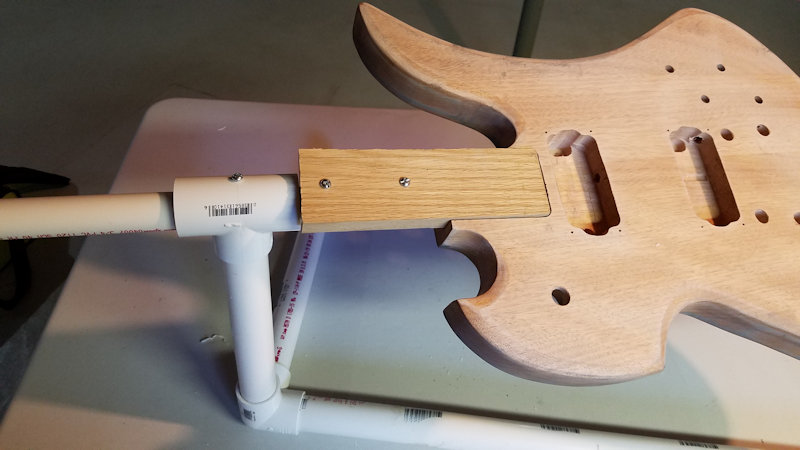
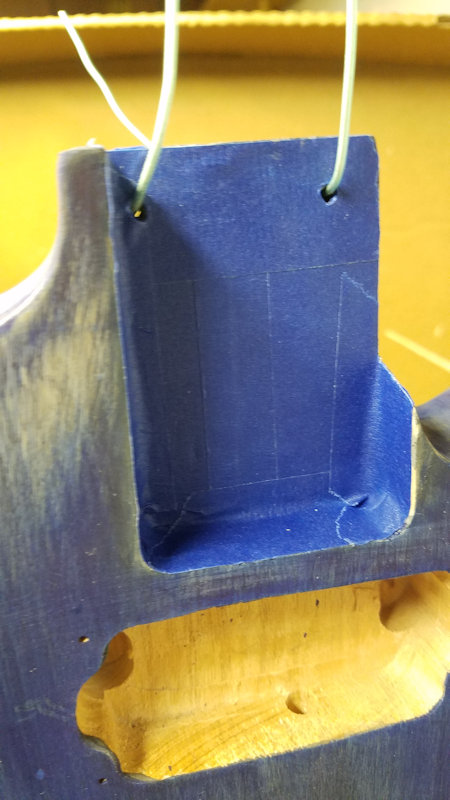
I taped off a spot that would be behind the neck plate to test out how the clear coat would work.

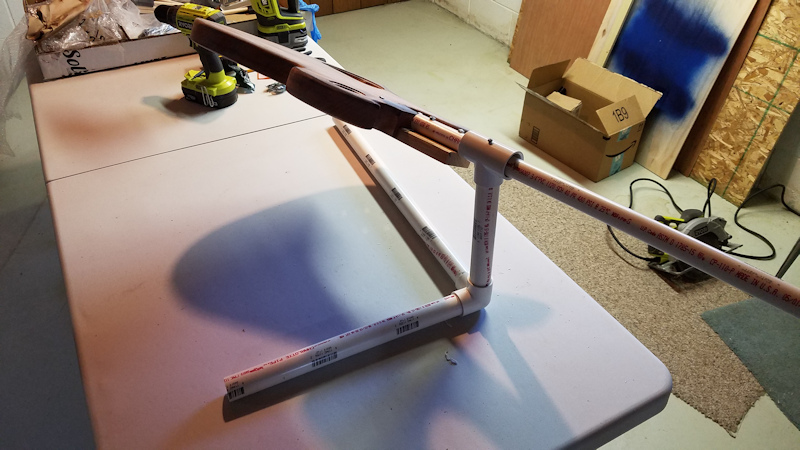
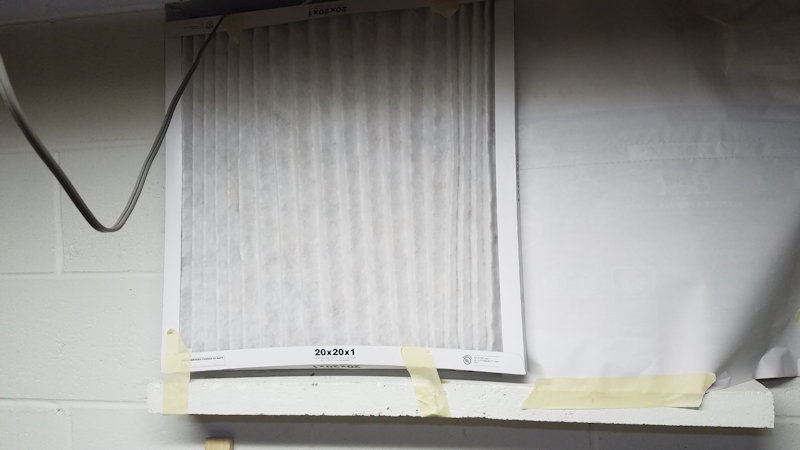
I also set up a box fan blowing out of the basement window with a matching furnace filter attached to the back. This will be my spray booth.

The test spray worked out nicely. The square was very glossy, and dried very quickly.

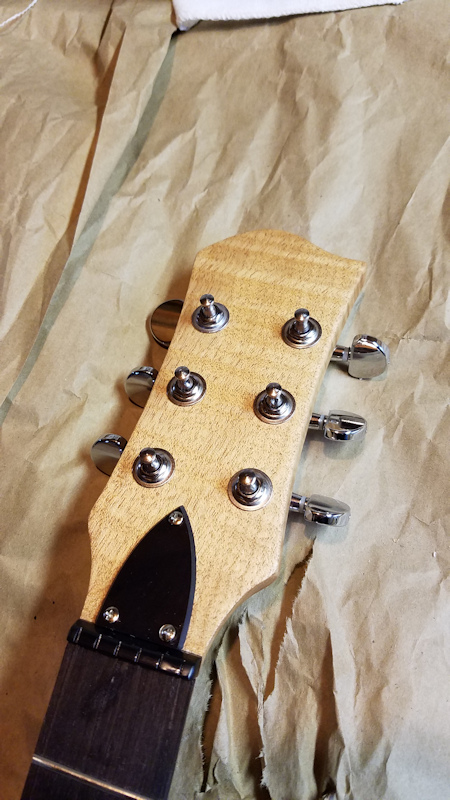
I taped up the neck pocket to prevent lacquer build-up, then drilled a screw into the joist above me, suspended a long strand of coated wire, then fed and tied it through the neck screw holes.

Then I began spraying.

  • Three very, very light passes all around, with dry time in between passes.
  • I removed the filter to get more air flow going and let this coat dry for two hours.
  • Reattached the filter, then three more light passes along with dry time for each pass.
  • Remove the filter, allow to dry (90 minutes this time).
  • Another three passes
  • Dry time.

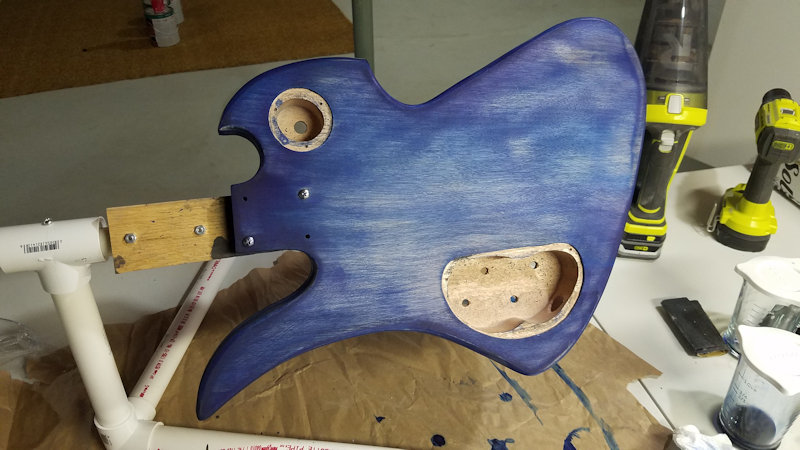
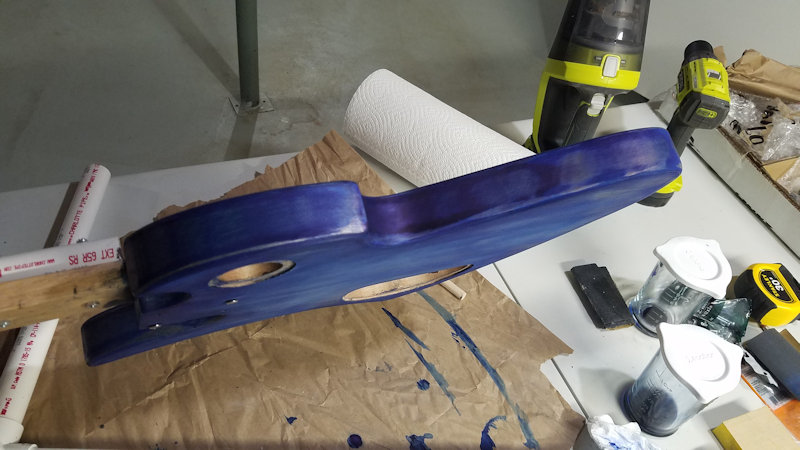
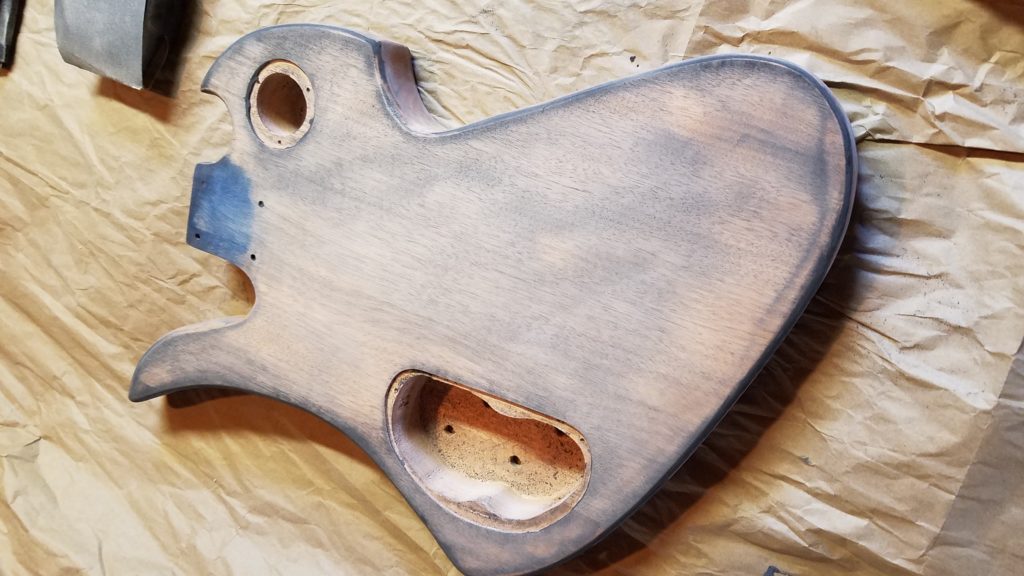
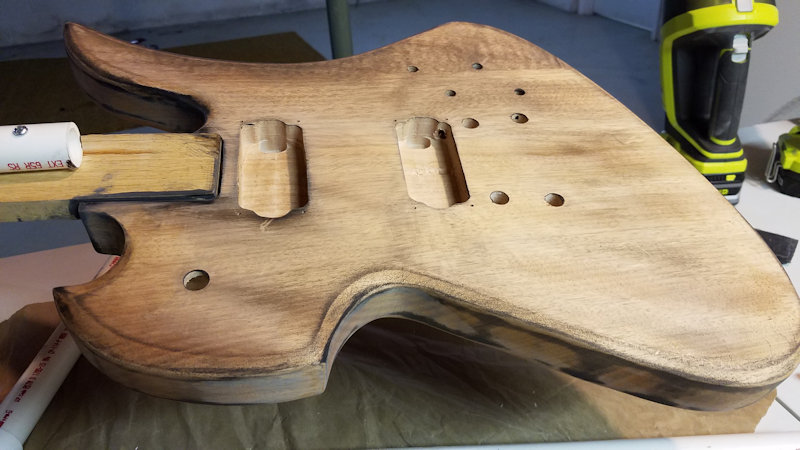
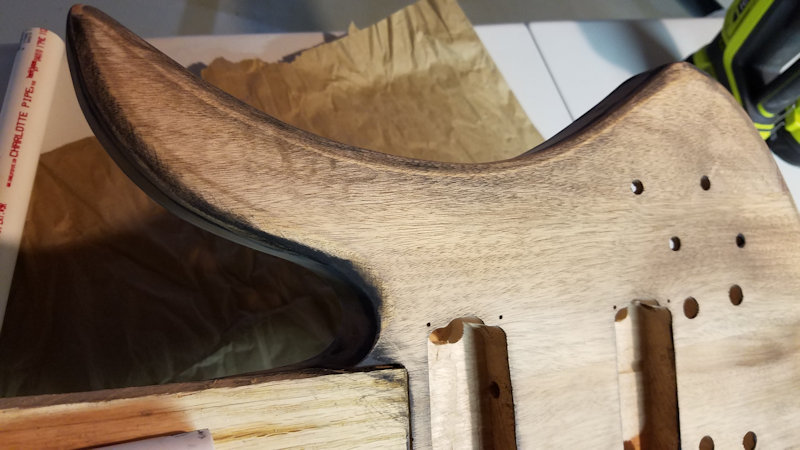
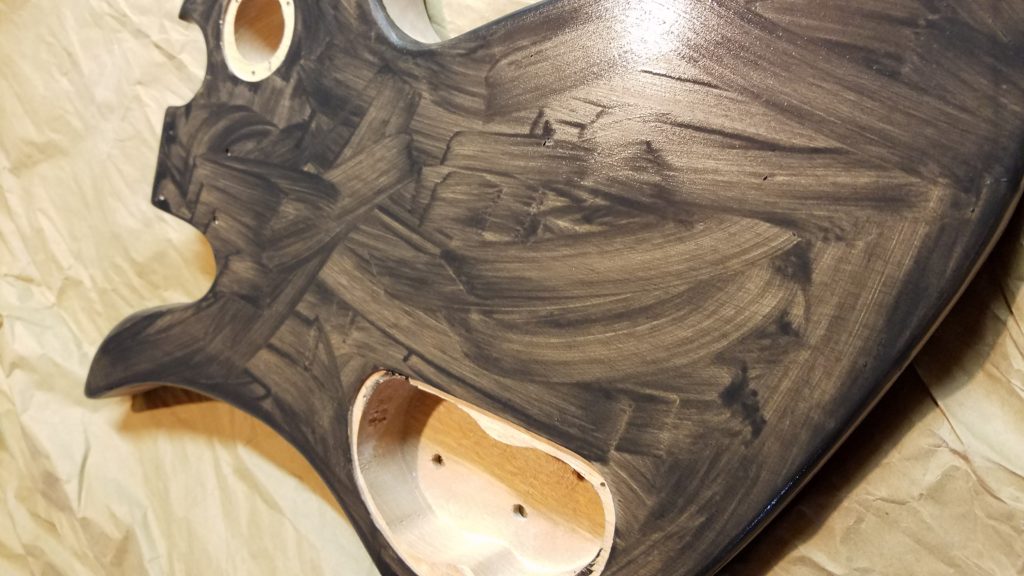
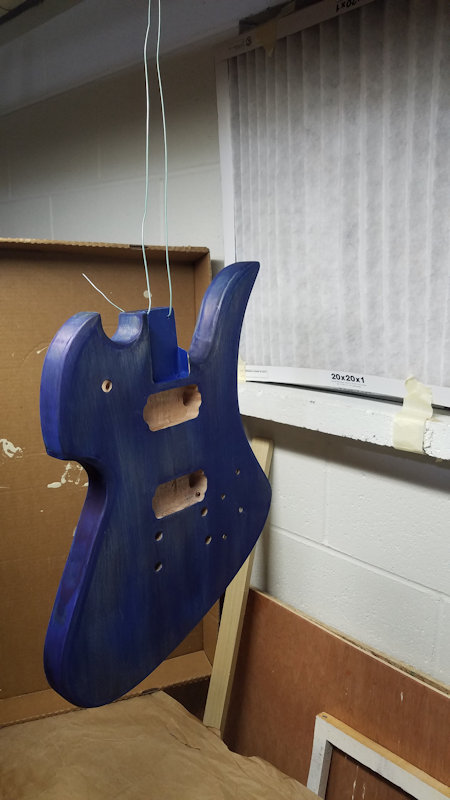
So far, this is the result after the second coat.

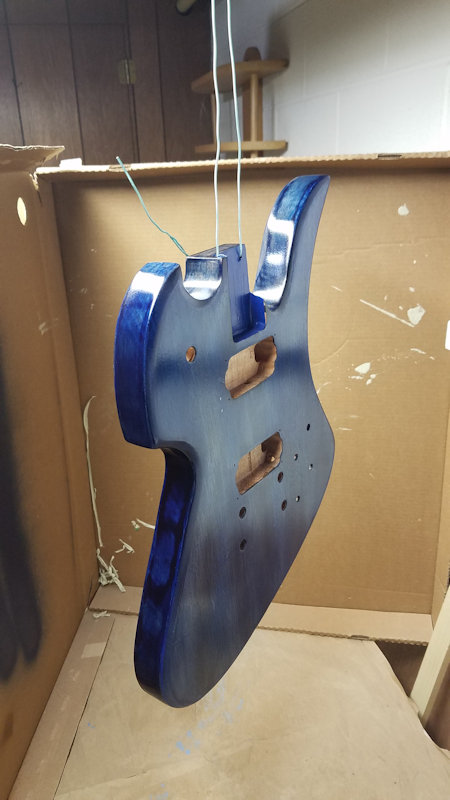
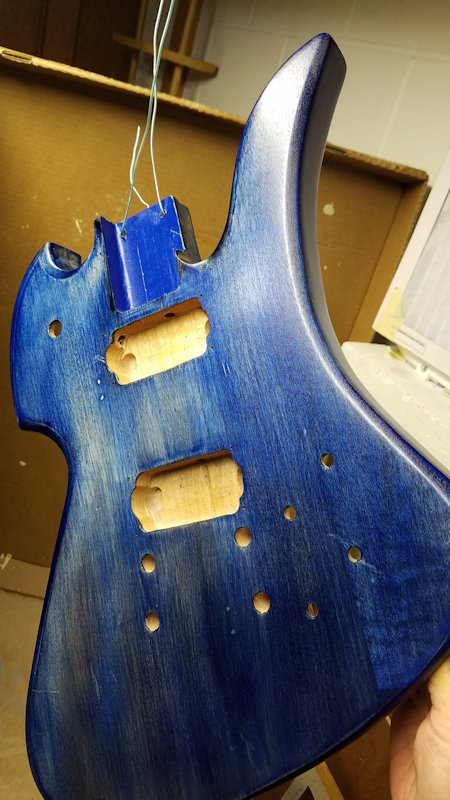
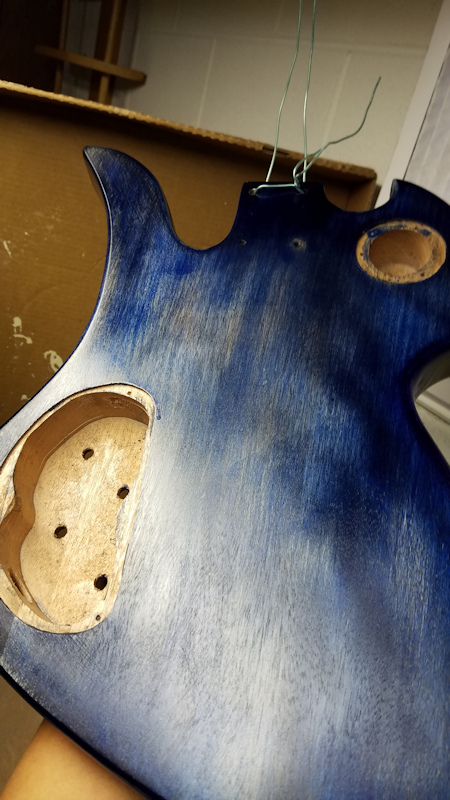
After these photos, I added the third coat. I’m planning on at least one or two more coats for the rest of the night. Then she rests overnight.

Where I feel like I lost out on time because of the delay in shipping of the Duplicolor and before I found the Watco is that I won’t be able to assemble while we’re at the up-north house. We’re heading back home on Sunday (in two days as of this writing). I’m torn between leaving the guitar here to continue drying and curing until we come back or packing it all up and taking it home to continue work down there.

I could bring it all home and let the finish continue off-gassing in the garage. And when ready, begin the electronics. But I don’t have a decent enough workspace at the main house (without doing some major basement/lower level reorg, which was in the works since I don’t go back to work until Thursday the 2nd).

This is probably my impatience talking.


Blue Stain


The last few days were spent on staining with blue. It took multiple coats using a diluted solution of the Transtint and water. I measured it out into a glass measuring cup with a sealable lid so I could keep the concentration consistent over several days while I worked. The end result wasn’t what I’d pictured in my mind at the start of the project, but did result in some happy accidents.


I started wiping off the dried filler and stumbled into an unexpected “happy accident.” With the way I was removing the dried filler, I found I could control how much I took off and where. The uneven pattern was adding a bit of character and depth that I hadn’t anticipated:

But I was able to see a better effect of the filler in the grain:

Later in the day, I assembled the finishing rig. The parts consist of:

  • 1″ straight PVC pipe
  • 3/4″ straight PVC pipe
  • 1″ 3-way elbow
  • 1″ tee
  • 1/2″ machine screw

In this case, I bought two 24″ pieces of the 1″ pipe and one 24″ piece of the 3/4 because it’s just easier to transport to the house rather than buying the super-long bulk stock. I cut 9″ off of one of the 24″ pieces to be the vertical, leaving the other to take the bulk of the body’s weight once I got the whole rig together (thank you, high school math and science).

I used a 1/2″ machine screw as a set screw in the T-piece to hold the 3/4″ pipe in place once I bolted it to a scrap piece of wood to attach the body.

When I began coating the sides and front with grain filler, I discovered a problem. To account for centrifugal force, I bolted the body to center with the 3/4″ horizontal pipe. Unfortunately, to minimize the center-of-gravity problem with the weight of the guitar and the lack of a counterweight, the 3/4″ pipe is bolted right up against the heel of the neck joint of the body, which meant I couldn’t get the filler into that spot.

But since it was just screwed into place, I could readjust and reposition the wood piece to the other side so I could get to the heel.

The weight distribution makes it more awkward to rotate now, but I could at least get to the heel.

After letting the grain filler dry for a few hours on the front and sides, I wiped it off using some deliberate carelessness to feather the edges.

And thus ends Sunday’s work. Letting the moisture dry off for the night before I begin staining tomorrow.


Now that I’m at our vacation home, I set up the workstation in the basement and did some test coloring and more examination. I decided that the neck should remain as-is, because it seems like there’s a more durable coat of sealant on it. I tried sanding off the top coat on the back of the joint where it would connect to the body, but it was taking more effort than I expected.

In various angles of light, I could see the shimmer of the mahogany, so it felt like it’d be a bit of a shame to lose that contrast with the future blue body.

I assembled the tuning machines just for a sense of some accomplishment:

I sanded down the body with 220 grit sandpaper to prep it for the Goodfilla ebony grain filler.

Then I realized my first mistake. I didn’t sand enough, because when I wiped off the dried grain filler with a damp shop rag, I was taking off all of it. I ended up right where I started again. So I went down to a 120 grit to take the sealer off and then I could tell that I was making a difference with a touch test. I applied the grain filler, thinned with a little bit of water to make it more paste-like than chunky-solid.

It was late when I finished laying it in on the back of the body, so I decided to let it dry and sit overnight until I could tackle it in the morning again.


The Blue-J Project – Intro


A log for a custom guitar build

For decades, I’d been fascinated by the BC Rich Mockingbird guitar. US audiences may associate this with Slash. For me, however, the style was favored by one of my favorite guitar players, the late Hide (‘HEE-deh‘) of X-Japan:

When I was in Japan in the late ’90s, I wandered into a music shop and saw a replica of Hide’s yellow Mock with the hearts. Despite knowing that it was a consumer-grade copy, I wanted to try it out, to get the feel and balance of the unique shape. It stuck with me since then.

I’m certainly not of Hide’s caliber in guitar playing, and my aesthetic style is nowhere in his stratosphere, so I wanted to build a Mock more to my own style. Typically, I lean toward red guitars, but a sudden flash of inspiration and some trial mock-ups later, I settled on a deep blue, as shown in the lead-in image.

The project is named Blue-J (since my legal first name starts with “J”), but I haven’t decided whether that’s the name of the guitar or not.

I ordered the MBK-1 kit from Solo Guitars (no affiliation links, as I’m not going to blog nearly enough to drive traffic to the company to earn a cent), and five days later, the box was home. Did a test fit of the neck and body and to examine the mahogany:

Upon examination of the grain, I decided that a solid color and sunburst fade would be a disservice to the natural qualities of the wood. So it’s going to be stained instead.

Supplies I bought to accomplish this include:

  • TransTint wood stain/dye – blue
  • Goodfilla ebony grain filler
  • A bunch of PVC to build the finishing rig
  • Collection of sandpaper ranging from 120 – 3000 grit
  • More shop rags than I ever thought I’d ever need

To make the finishing job easier, I bought supplies at Home Depot to make a finishing rig of PVC and a piece of project lumber. While I have scrap wood available, they’re in 8′ deck plank sizes, so cutting them down would’ve just been extra work for the $4-5 cost of the finished project board that I have to cut anyway.

I also want to replace the stock tone/volume knobs that came with this kit, but will make that decision after the finish is complete to make sure that the vision in my head actually matches reality.

Because the mahogany is an open-pore wood, I need grain filler to keep the wood from getting all funky once I lay down color substance. After several days of poring over various Internet forums, blogs, and vendor sites, I decided I wanted a dark-to-black grain filler to help accentuate the grain against the blue stain. This was where I settled on the Goodfilla ebony.

Several YouTube videos on refinishing guitars later, I was as ready as I was going to be.


Enhanced Guardian Alerts PowerSchool Plugin

Plugin #2 is out on PowerSource. Like the Medical Alerts visual enhancement, this adds some additional icons under the student header in the admin portal to visually indicate whether extra attention should be drawn to the guardian page.

This initial version will include blue icons for the existence of a restraining order and whether an adult should have limited contact with a student.

Download from PowerSource

For the Greater Good

I get asked every so often by those in enterprise IT why I spend my nights and weekends answering e-mails, doing custom coding, and building analytical reports for my teacher and administrator colleagues.  I get the impression from those counterparts that they’re only in IT for the 30% of the time they get to play with new technology and that the remaining 70% of the time when they have to actually do their jobs and help their colleagues out is a burden and a chore to them.

“Stupid users….” is a frequent utterance.  Maybe it’s the benefit of having been in my position and industry for over 20 years but I don’t see it that way.

I work nights and weekends because my teachers and administrators do.  If they’re on-line, that means they’re trying to finish something up for their customers: their students and their families.

If it wasn’t important to take care of some business for the kids so that the kids can continue to have the best experience in school that they can, they wouldn’t be on their laptops and tablets at home doing this work at 8, 9, 10 o’clock at night.

So when they run into problems, they come to me.

When they do, I have a choice.  I can resort to “I’ll look at it tomorrow when I’m on the clock and in the office.”  Or I can take a quick look to see what will be involved and make a judgment call over whether I can take care of it right away or lay the groundwork for “tomorrow.”

I tend to go for the latter because of that indirect but cascading effect that ultimately ends on the kids’ shoulders.  Because in my work in supporting teachers, it’s more than just grades and assignments that are affected.

Maybe a student is having a really rough time in class because of things happening at home. Without knowing it, he needs just that one little shining hope of success, like knowing he earned a perfect mark on a tough assignment, to make him believe that he’s not a complete waste of time and space like an older relative makes him think he is.

Maybe a student is struggling to comprehend the English language because her family moved here from another country just before the school year began.  She knew no one before walking into the cold, fluorescent brick building full of incomprehensible noises and colors.  And the one piece of familiarity that she can latch onto is a math equation.

Maybe a student who has autism has been in and out of disciplinary measures all year because he has difficulty expressing his frustrations and sensory overload in class, and lashes out violently as a coping mechanism.  And the one thing that can help him, his teachers, and his classmates is for his teacher to finally have access to his IEP and his accommodations list that had additional, helpful details, like “frequent breaks.”  “No sudden movements and low voice.”  “Minimal physical contact.”

None of this seems like it has direct connection with technology, but they do.  Whether it’s technology (my previous life) or data (my current life), they all touch students in some way.

If teachers are working right now at 9:30pm on a Tuesday, there’s a reason.  And if I can support that with answers or suggestions or even a game-plan when they run into problems or have questions, there’s a small chance that I can positively affect a student’s life in the long term, because that’s what we in schools are here for: the students.

This is why I do what I do, when I can. 

Add Former English Learner from PowerSchool Into Illuminate

Our English Language Development department wants to track students who are considered “former English learners” in Illuminate.  The criterion is if they’ve been exited from the EL program within the last four years.  This requires a few preparations.

First, set the code within Illuminate to display the former EL status.  I just chose the next one available.  I’ll use this variable in my SQL script, which comes next.

From the cog, choose Code Management

Look for English Proficiency.  I just start typing “english,” and it appears:

Then add the new code.  In our case, plain number 6 was the next available one.  I have to remember this value:

Next, I need to edit studemo.sql on the server where the SQL extract scripts are installed.  These are the scripts that build queries from the PowerSchool database, assemble the files, and then SFTPs them to Illuminate’s server.

The column that provides English proficiency status is column 14.  For that column, I use a CASE statement:

case
   when (sc.flaglep = 1) then 3
   when (sc.lepexitdate > to_date('6/15/'||to_char(extract(year from sysdate)-4),'mm/dd/yyyy')) then 6
else null end

The prefix sc refers to an alias for our state reporting code.  PowerSchool users outside of Michigan may have different column names.  Walking through this CASE statement, here’s what I’m saying:

  • If the “is an English learner” checkbox is marked, the value is 1 in the database, so I want to return the value of 3 to send to Illuminate (note in the screen shot above of the code table, where 3 indicates “English Learner”).
  • If the EL exit date is greater than a date of June 15 of the year that’s 4 earlier than the current system date, then return a 6.
  • Otherwise, return nothing

So the possible output values will be 3, 6, or nothing.  This is proven when looking at studemo.txt in Excel:

Once uploaded to Illuminate, this value can then be used in filters for reports, student groups, and assessments: